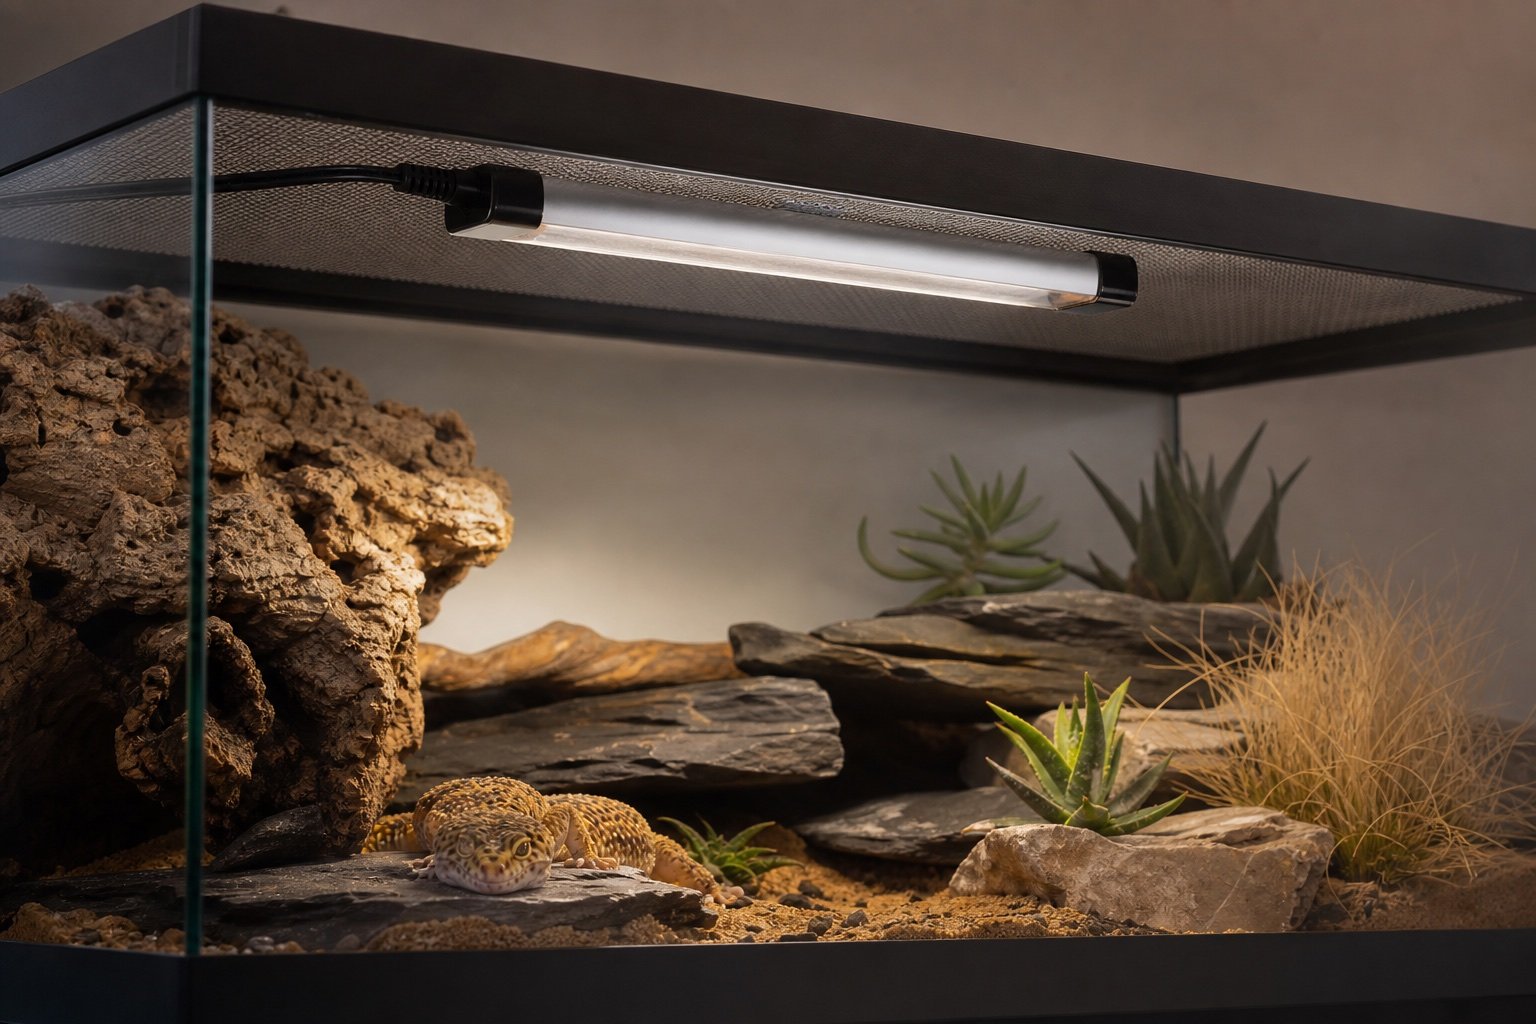
Quick verdict: ShadeDweller ProT5 is one of the easiest UVB kits to place over a short enclosure for crepuscular or low-exposure species. The compact 8W, 7% lamp produces a gentle zone, but dense mesh can reduce an already modest margin.
The fixture is 315 mm long and was designed around a working distance close to 300 mm. Arcadia lists center readings of UVI 0.80 at 250 mm, 0.65 at 300 mm, 0.45 at 380 mm and 0.30 at 450 mm before screen losses.
| Setup or factor | Published or practical value | Use |
|---|---|---|
| 250 mm | UVI 0.80 | Strong end of the published compact range |
| 300 mm | UVI 0.65 | Useful planning distance |
| 380 mm | UVI 0.45 | Lower exposure |
| 450 mm | UVI 0.30 | Little headroom for mesh loss |
Where it fits
The unit suits low-profile vivariums where a full-size high-output tube would be difficult to tame. It can also create a defined low-UV zone inside a larger habitat, provided the animal has access to the correct thermal and visible-light environment.
Mesh is the deciding variable
Arcadia notes that stainless mesh can reduce UVI by 30% or more. At the longer published distances, that loss may leave too little useful exposure. Our UVB through mesh test helps quantify it.
Placement
Align the tube with the basking perch and keep a shaded retreat beyond the reflector footprint. The fixture is linkable and includes electrical protections, but it still belongs outside the wettest spray path.
Measurement
Use a UVI meter at animal height. A reading taken at the substrate means little if the gecko rests on cork 150 mm closer to the tube. Map the positions the animal actually uses.
Alternative
If the enclosure is tall or the target UVI is higher, the broader ProT5 range provides more output choices. Do not raise the ShadeDweller far beyond its useful range just to make it fit.
A commissioning routine that catches mistakes
Assemble and run the system before the animal depends on it. Photograph the final positions, label cables, and compare the working zone with an independent instrument. Test one normal day, one night transition and a short power interruption. The goal is not a perfectly flat chart. It is a stable, understandable gradient with safe recovery.
Recheck after cleaning because fixtures, probes and branches rarely return to the exact same position by accident. A two-minute baseline check is cheaper than troubleshooting weeks of unexplained behavior.
Common mistakes
- Assuming 7% describes the UVI reaching the animal
- Placing the only perch outside the reflector footprint
- Ignoring screen loss
- Adding a stronger reflector without remeasuring
- Leaving no dark retreat
How to verify the result in a real enclosure
Lighting work becomes much easier when the enclosure is treated as a map rather than a box with one reading. Mark the basking center, both edges of the perch, the warm hide entrance and the darkest retreat. Take measurements at the height of the animal’s back. This reveals whether the reptile can make small choices instead of moving between two extremes.
Visible light, UVB and heat overlap during the day, but each should be evaluated separately. A bright enclosure can still have weak UVB, and a strong UVB fixture does not create the correct basking surface temperature. Keep the lighting schedule consistent, control heat with suitable hardware, and change only one part before repeating the map.
A practical seven-day check
- Day one: photograph positions, record room conditions and capture baseline readings.
- Day two: review the full day-night transition and check that schedules occurred at the intended local time.
- Day three: inspect mounts, probe restraints, plugs, tubing and any area exposed to moisture.
- Day four: compare the main reading with an independent instrument placed beside it long enough to stabilize.
- Day five: review animal access and behavior. Confirm that equipment does not block hides, climbing routes or the cool zone.
- Day six: simulate one safe failure, such as a short internet loss or power interruption, then check recovery.
- Day seven: save the final settings and observations in the enclosure record.
Repeat the short version of this audit after major cleaning, seasonal room changes or equipment replacement. The point is not constant tinkering. It is catching the few changes that can quietly alter a previously stable habitat.
Related Reptile Tech Lab guides
- best reptile UVB light guide
- Arcadia ProT5 review
- UVB through mesh guide
- Solarmeter 6.5R review
- reptile light timer guide
Frequently asked questions
Is ShadeDweller only for geckos?
No. The decision should follow the species target, behavior and enclosure geometry, not a marketing label.
Can it replace a basking lamp?
No. It provides UVB and visible light, not controlled basking heat.
How often should readings be checked?
At installation, after layout changes and periodically as the tube ages.
How does it compare with full-size T5?
It is shorter and gentler. Our best UVB light guide explains when more output is useful.