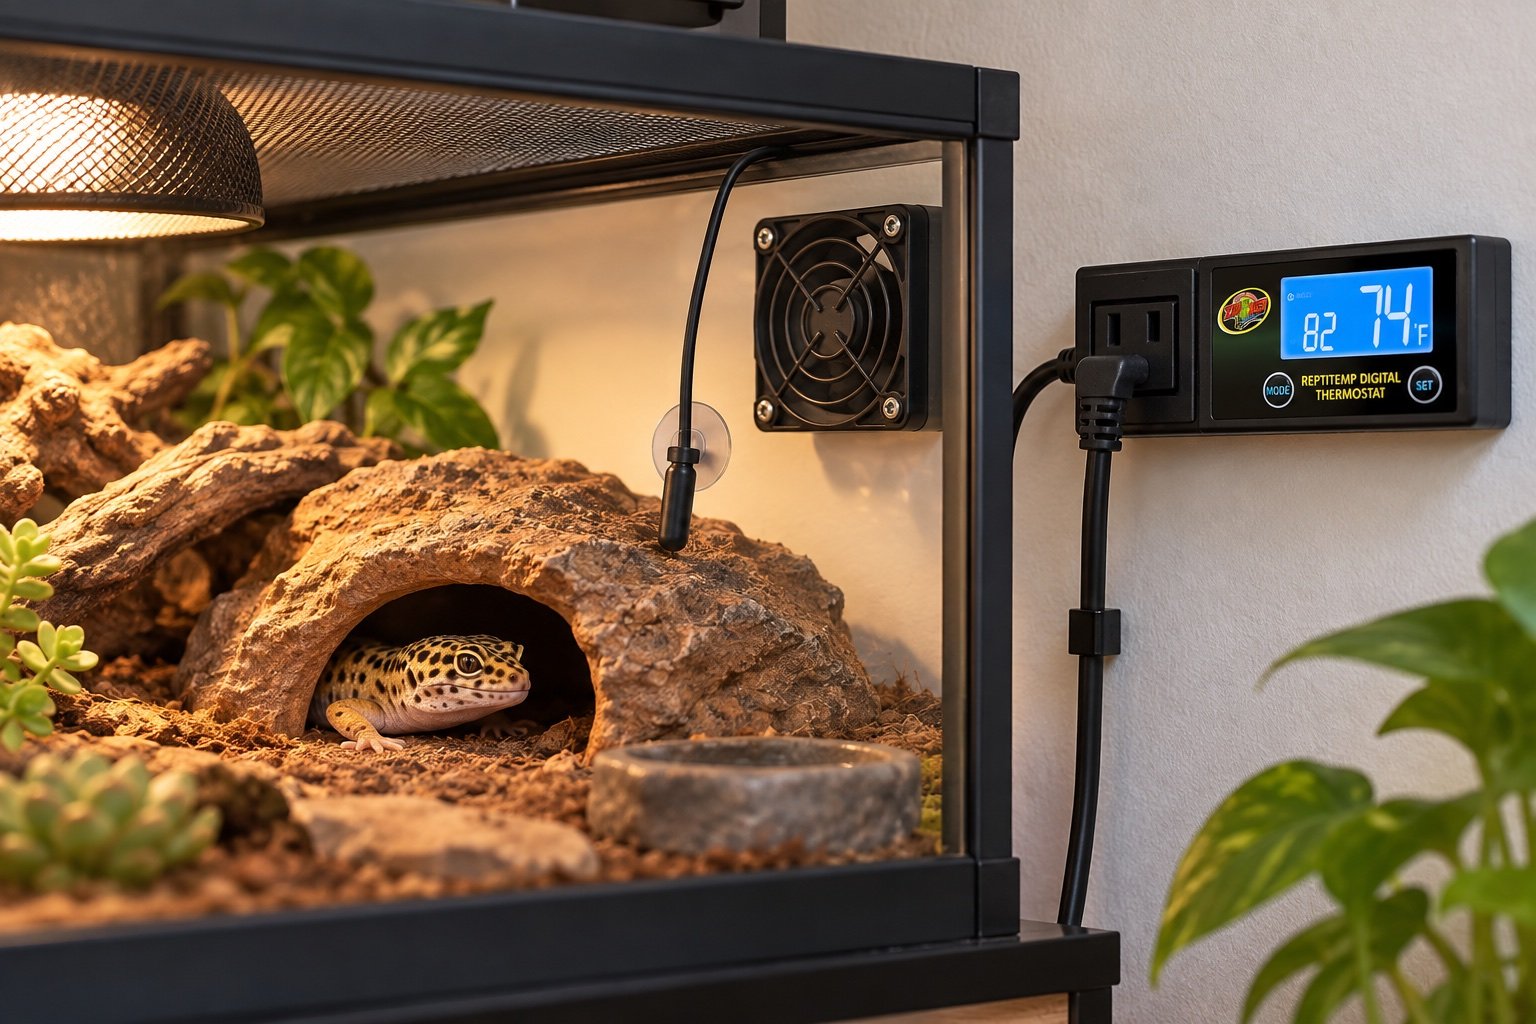
Quick verdict: The RT-600 is a simple on/off controller that can run either heating or cooling. It fits mats, ceramic heat and small fans better than bright basking lamps. The single probe and basic display keep setup approachable, but independent monitoring is still required.
This guide is built around commissioning, not box-opening. Compare it with our ventilation fan guide and heater comparison before changing a live enclosure.
| Point | What to know |
|---|---|
| Range | 50°F to 122°F |
| Heating load | Up to 600 W |
| Cooling load | Up to 150 W |
| Probe | Remote sensor on a 6 ft cable |
Heat or cool, not both as a climate station
Choose the operating mode deliberately. In heat mode, the socket powers a heater when temperature falls. In cool mode, it can power a fan when temperature rises. This is not the same as a two-stage controller that coordinates heating and cooling together. Label the selected mode near the plug so a later equipment swap does not invert the response.
On/off behavior limits heater choice
A ceramic emitter, mat or cooling fan can suit relay control when the full system is tested. A halogen lamp will switch visibly and may cycle more than desired. If the enclosure uses light-emitting heat, compare a dimming model in our reptile thermostat guide.
The probe cable is long enough to create mistakes
Six feet helps place the controller outside the habitat, but loose cable invites snagging. Secure the probe at the controlled zone, route the cable away from the animal and leave a service loop outside. Do not trap the wire under a sliding door. The probe placement guide shows safer restraint options.
Cooling mode needs a room-air reality check
A small fan can exchange enclosure air only when the room is cooler or drier than the habitat. If the whole room overheats, recirculation may do almost nothing. Log room and enclosure temperatures together, guard fan blades and avoid directing strong airflow across an animal’s preferred resting place.
Test the failure direction
Warm the probe gently in cool mode and confirm the fan starts. Cool it in heat mode and confirm the heater starts. Then unplug the probe if the manual permits that diagnostic and observe the fault behavior. Use a separate alarm sensor because a thermostat cannot report its own complete loss of power.
What a good installation looks like after one week
The equipment should be boring. Cables remain where they were fixed, schedules occur at the expected local time and the animal can use the enclosure without touching a probe or blocking a sensor. Charts show ordinary cycles rather than unexplained steps. Alerts are rare enough that someone will act on them.
Repeat the acceptance check after major cleaning, seasonal room changes or firmware updates. If the system cannot recover cleanly from a routine interruption, it is not ready to become invisible infrastructure.
Keep a change log, even for a single enclosure
Record the date, old setting, new setting and reason. Add one observation after the next full day. This stops a sequence of sensible-looking tweaks from drifting far away from the original plan. It also helps another carer understand why an unusual schedule or position exists.
Firmware, app and clock changes belong in the same record as physical maintenance. After an update, confirm units, time zone, schedules, alarm limits and channel names. Do not assume a graph that looks familiar proves the outputs are mapped correctly.
Check the animal’s access around the hardware
Run a hand along the routes the animal can climb. Look for hot guards, sharp clips, adhesive edges and cable loops. Make sure a hide, plant or deep substrate cannot press against the sensor and create a false reading. Equipment placement is finished only when the animal can use the habitat normally without becoming part of the mounting system.
Observe the first week at ordinary care times, not only during a staged inspection. Feeding, misting, opening doors and moving bowls are the moments that disturb cables and airflow. If a control survives only when nobody touches the enclosure, it is not a durable installation.
Watch what happens during ordinary care
Open the enclosure, change water, mist, feed and move the usual hide or branch. Then check the hardware. Good installation survives those actions without a cable pulling tight, a probe moving or an alert becoming meaningless. A perfect result in an untouched display is less useful than a stable result during real care.
Ask another person to perform the round using the written labels. If they cannot identify the shutoff, correct sensor or affected habitat, improve the record. This is especially important when one controller or gateway serves several enclosures.
Plan the retirement path
Connected products eventually lose app support, batteries weaken and replacement probes disappear. Export data in an open format and keep essential settings in plain text. Avoid building a safety function that only one discontinued phone app can change.
Before replacing a working device, define the improvement you expect: quieter control, a second zone, remote alerts or better moisture protection. If the new product does not solve that specific limitation, maintenance and a spare part may be the better purchase.
Common mistakes
- Trusting the first stable-looking number without mapping the surrounding zone
- Changing several settings at once and losing the cause of the result
- Leaving probes, cables or mounts where normal animal movement can shift them
- Treating an app or remote alert as the primary safety control
- Skipping a power-recovery test because the device retained settings once
Related Reptile Tech Lab guides
Frequently asked questions
Can it dim a lamp?
No. It controls by switching power on and off.
Can it run heating and cooling together?
It operates in the selected heat or cool mode, not as a dual-stage system.
Is the controller waterproof?
Keep the controller and socket dry; follow the manual for probe placement.
What can cooling mode control?
A suitably rated fan or cooling device within the 150 W limit.