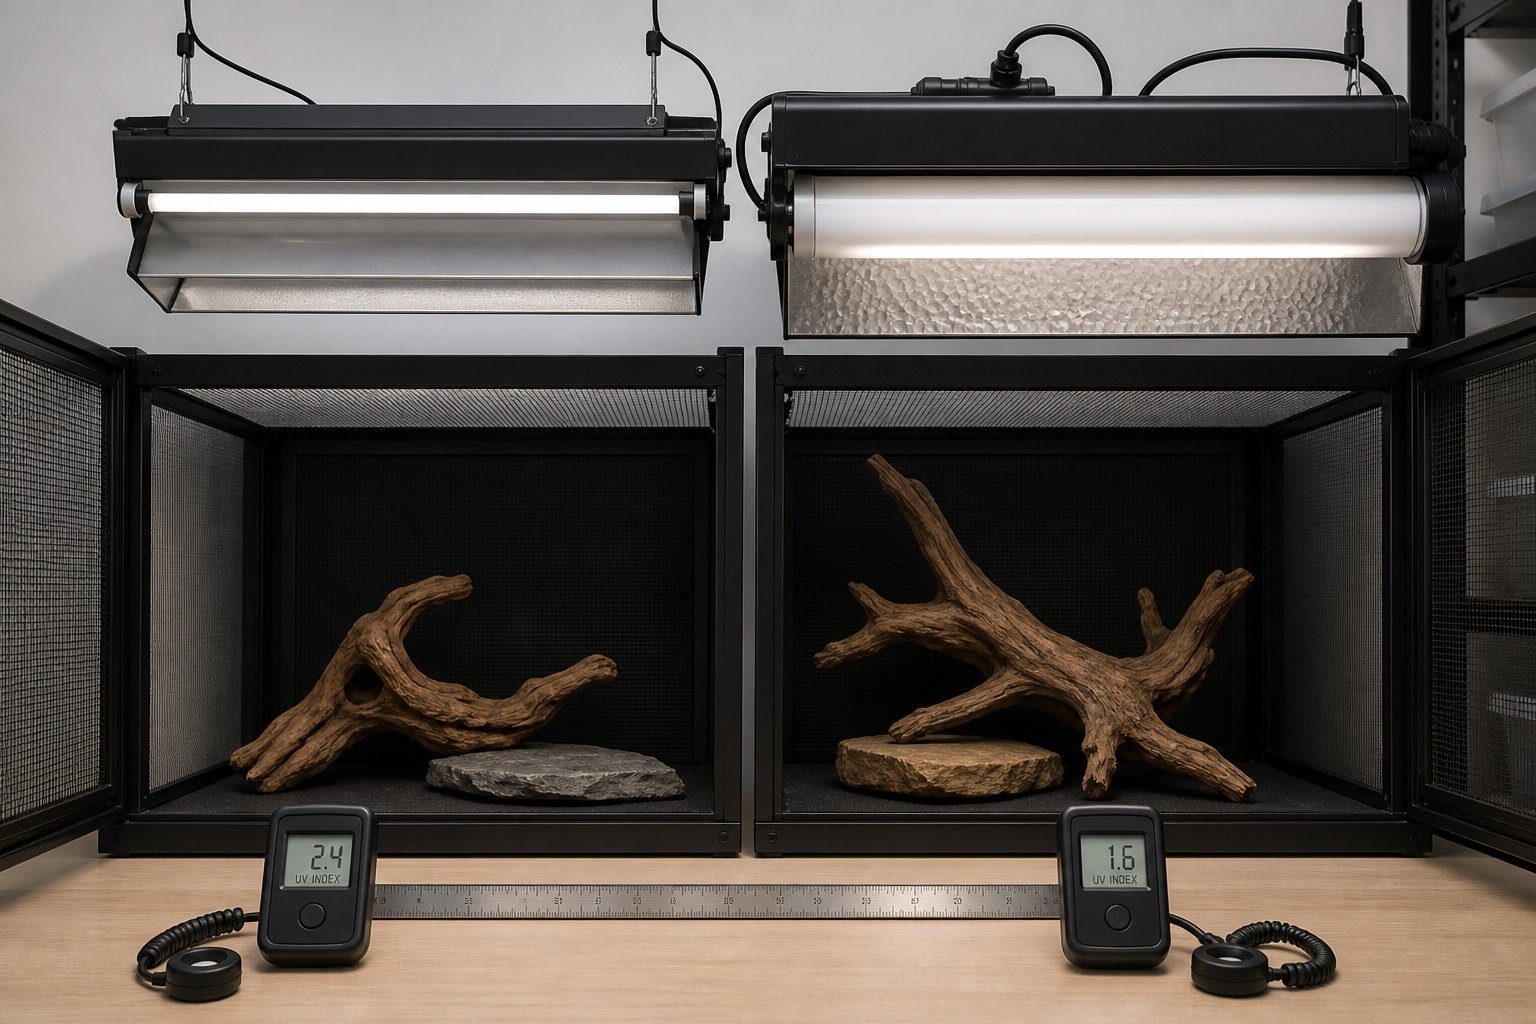
Quick verdict: T5 HO is the practical default for most modern reptile enclosures because it provides wider coverage and more distance headroom. T8 remains useful in shallow, unobstructed habitats where a gentler lamp can sit close to the basking area.
Tube diameter is only part of the comparison. Ballast, reflector, lamp chemistry and mounting distance decide what reaches the animal. Treat T5 and T8 as two systems, not interchangeable tubes.
Setup or factor
Published or practical value
Use
Output
Generally higher
Generally lower
Useful distance
More headroom
Best at shorter distance
Tube diameter
16 mm
26 mm
Common use
Medium and tall enclosures
Shallow legacy or low-output setups
Why T5 gained ground
A T5 HO fixture can create a broad zone without being mounted immediately above the animal. That helps when there is a guard, mesh lid or deep enclosure. The smaller tube also works with efficient shaped reflectors.
Where T8 still makes sense
A T8 can be easier to control in a shallow wooden vivarium with internal mounting and no mesh. It may also be the least disruptive replacement when a proven setup already hits the required UVI.
Do not mix parts
A T5 tube does not belong in a T8 fixture. Length, pins, electrical requirements and ballast are different. Replace the fixture and tube as a matched system.
Compare measured zones
Use the method in our UVB buying guide: set the fixture, map UVI at the basking surface, confirm a shaded route, then record the baseline.
Cost over time
T5 fixtures often cost more initially. The useful comparison includes replacement tubes, availability, electricity and whether the old fixture can reach the target without unsafe proximity.
A commissioning routine that catches mistakes
Assemble and run the system before the animal depends on it. Photograph the final positions, label cables, and compare the working zone with an independent instrument. Test one normal day, one night transition and a short power interruption. The goal is not a perfectly flat chart. It is a stable, understandable gradient with safe recovery.
Recheck after cleaning because fixtures, probes and branches rarely return to the exact same position by accident. A two-minute baseline check is cheaper than troubleshooting weeks of unexplained behavior.
Lighting work becomes much easier when the enclosure is treated as a map rather than a box with one reading. Mark the basking center, both edges of the perch, the warm hide entrance and the darkest retreat. Take measurements at the height of the animal’s back. This reveals whether the reptile can make small choices instead of moving between two extremes.
Visible light, UVB and heat overlap during the day, but each should be evaluated separately. A bright enclosure can still have weak UVB, and a strong UVB fixture does not create the correct basking surface temperature. Keep the lighting schedule consistent, control heat with suitable hardware, and change only one part before repeating the map.
A practical seven-day check
Day one: photograph positions, record room conditions and capture baseline readings.
Day two: review the full day-night transition and check that schedules occurred at the intended local time.
Day three: inspect mounts, probe restraints, plugs, tubing and any area exposed to moisture.
Day four: compare the main reading with an independent instrument placed beside it long enough to stabilize.
Day five: review animal access and behavior. Confirm that equipment does not block hides, climbing routes or the cool zone.
Day six: simulate one safe failure, such as a short internet loss or power interruption, then check recovery.
Day seven: save the final settings and observations in the enclosure record.
Repeat the short version of this audit after major cleaning, seasonal room changes or equipment replacement. The point is not constant tinkering. It is catching the few changes that can quietly alter a previously stable habitat.
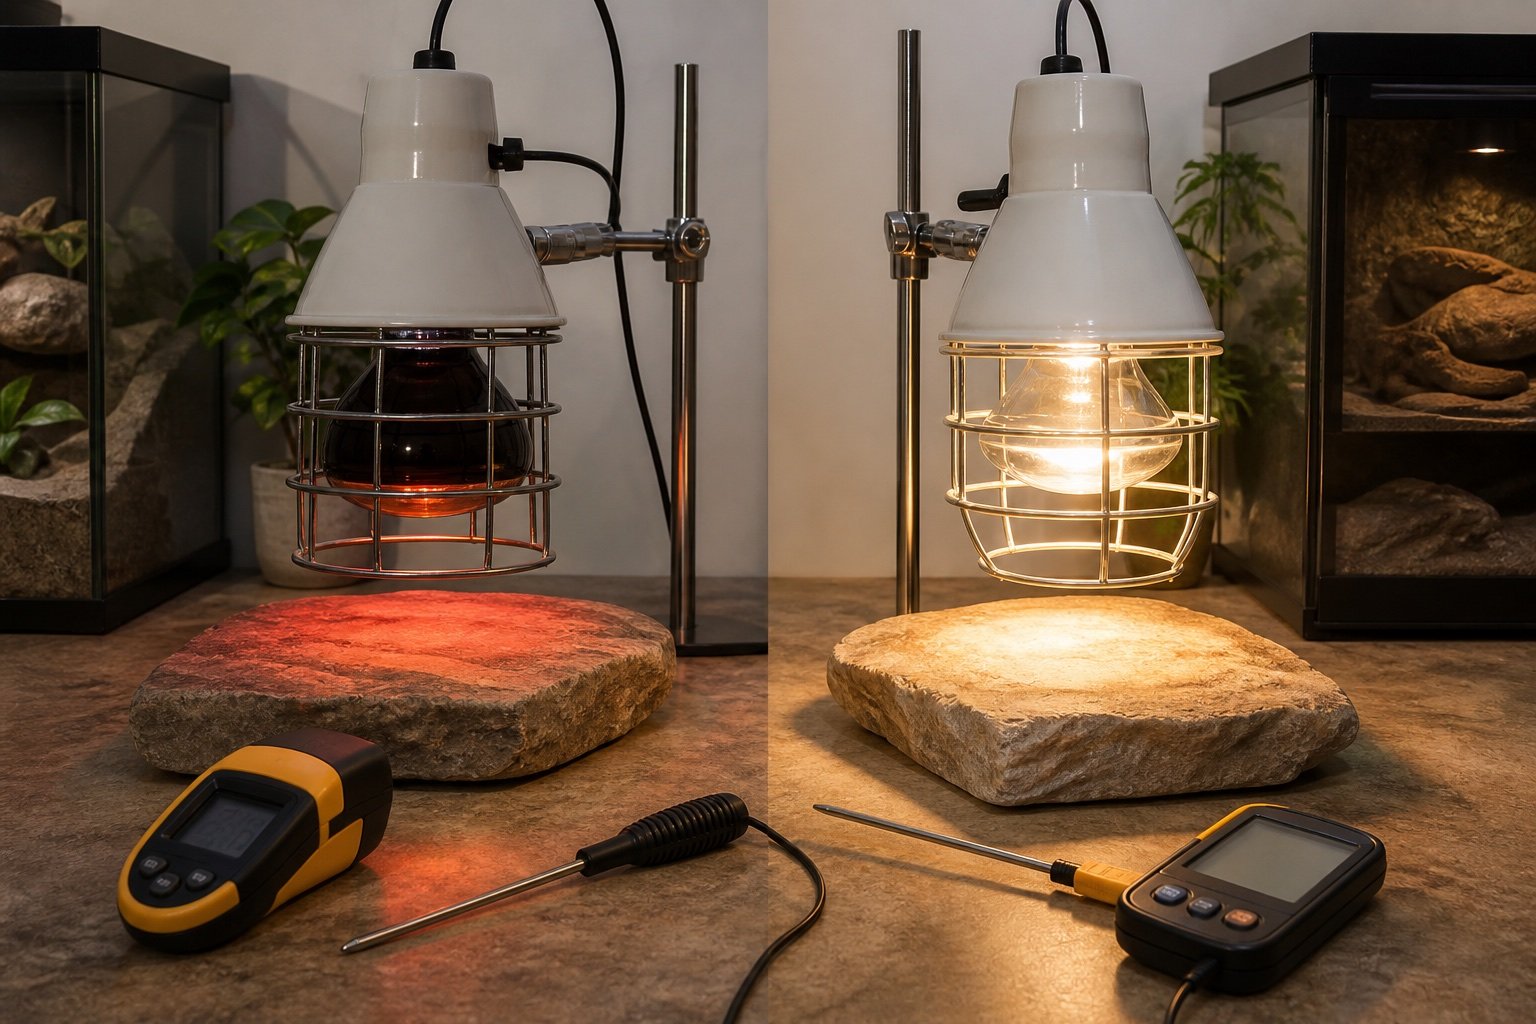
Quick verdict: Halogen is usually the better daytime basking source because it combines bright visible light with focused surface heat. A deep heat projector is useful when heat is needed without visible light, but it still needs proportional thermostat control and a guarded ceramic holder.
Deep heat projector vs halogen: which heat source fits the job? is a narrow buying and setup question, so this guide stays focused on that job. It does not repeat our broader category pages. The aim is to help you choose, install and verify the equipment without turning one convenient device into a single point of failure.
What matters in this comparison
Factor
Option or result
Why it matters
Light
Bright visible output
No visible light
Best period
Daytime
Day or night
Heat pattern
Focused basking beam
Broader dark radiant zone
Control
Dimming thermostat
Dimming thermostat
Specifications are useful for screening products, but enclosure performance depends on placement. Room temperature, ventilation, mesh, substrate moisture and animal access can move the result far from a brochure figure. Work from a measured baseline and change one variable at a time.
How to set it up
1. Define the job
Decide whether the source is for basking or background support. Test the result under normal enclosure conditions and write down what you observed. A setting that works on an empty bench can behave differently after decor, ventilation and daily room changes are added.
2. Size the zone
A larger animal needs a wider usable area, not one hot point. Test the result under normal enclosure conditions and write down what you observed. A setting that works on an empty bench can behave differently after decor, ventilation and daily room changes are added.
3. Install the probe
Secure it where it cannot be moved or covered. Test the result under normal enclosure conditions and write down what you observed. A setting that works on an empty bench can behave differently after decor, ventilation and daily room changes are added.
4. Measure surfaces
Use an infrared thermometer plus ambient probes. Test the result under normal enclosure conditions and write down what you observed. A setting that works on an empty bench can behave differently after decor, ventilation and daily room changes are added.
5. Observe behavior
A technically correct number can still create poor access. Test the result under normal enclosure conditions and write down what you observed. A setting that works on an empty bench can behave differently after decor, ventilation and daily room changes are added.
What ownership looks like after the first week
The first week should be treated as commissioning, not proof that the system will remain stable. Check the morning minimum, daytime peak and the transition between them. Look for loose probes, wet connectors, drifting clocks, blocked vents and any behavior that suggests the animal cannot use the intended zone.
After the setup settles, use a short written routine. A glance at the device is not enough. Compare it with an independent instrument, inspect cables and mounts, and review stored history when available. Replace consumable parts based on condition and verified performance rather than memory.
Common mistakes
Using a DHP as a complete lighting plan
Running halogen after dark
Controlling either source with a simple on-off thermostat
Reading only air temperature
Allowing contact with the lamp or holder
Who this approach suits
This approach suits keepers who want a system that another person can understand during a holiday or emergency. It also scales better across several enclosures because labels, baseline readings and failure tests remove guesswork. If a device requires constant manual correction, the installation needs work even when its feature list looks impressive.
How to verify the result in a real enclosure
Test heat control during the room’s coldest and warmest ordinary periods. A setup tuned on a mild afternoon may run at full output overnight, while one tuned during winter may overshoot in summer. Review the heater duty cycle, surface temperature and cool-side air together. Each value answers a different question.
Probe security deserves physical testing. Tug the cable gently, move nearby decor and perform the normal cleaning motion. If the probe can slip, be covered or pressed directly against the heater, the controller can receive a false reading. Add a second independent sensor where it will notice the resulting enclosure change rather than duplicate the same failure point.
A practical seven-day check
Day one: photograph positions, record room conditions and capture baseline readings.
Day two: review the full day-night transition and check that schedules occurred at the intended local time.
Day three: inspect mounts, probe restraints, plugs, tubing and any area exposed to moisture.
Day four: compare the main reading with an independent instrument placed beside it long enough to stabilize.
Day five: review animal access and behavior. Confirm that equipment does not block hides, climbing routes or the cool zone.
Day six: simulate one safe failure, such as a short internet loss or power interruption, then check recovery.
Day seven: save the final settings and observations in the enclosure record.
Repeat the short version of this audit after major cleaning, seasonal room changes or equipment replacement. The point is not constant tinkering. It is catching the few changes that can quietly alter a previously stable habitat.
No. Use a separate thermometer, hygrometer, light meter or logger appropriate to the job. Independent verification catches probe movement and controller errors.
How long should I test before animals or eggs depend on it?
At least one complete day-night cycle, and longer for equipment affected by room weather or water use. Incubation and emergency systems deserve several days plus a power-loss test.
Can an app replace local control?
An app is useful for history and alerts. Critical regulation should continue safely when the phone, router or cloud service is unavailable.
What should I record?
Record device model, installation date, set points, probe location, baseline readings and the result of outage or disconnection tests. Those notes make later troubleshooting much faster.
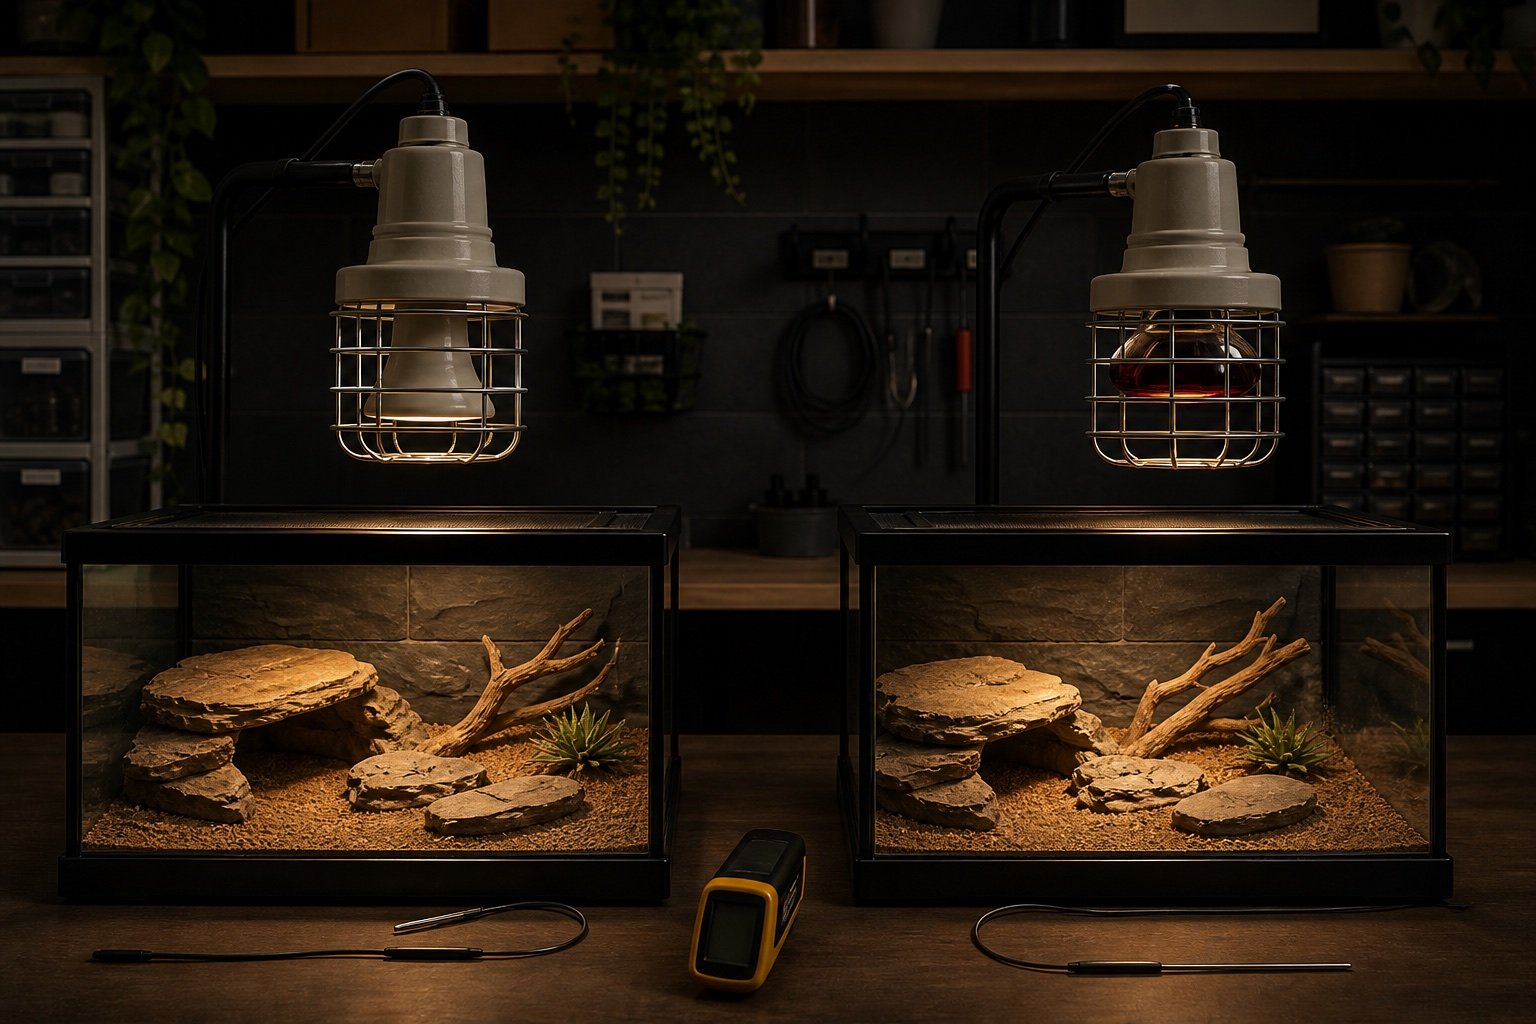
Quick verdict: Both sources provide heat without visible light, but they do different work. A ceramic heat emitter is effective for raising surrounding air in a ventilated enclosure. A deep heat projector is usually better when a directed warm surface is needed without light.
Ceramic heat emitter vs deep heat projector: a practical comparison is a narrow buying and setup question, so this guide stays focused on that job. It does not repeat our broader category pages. The aim is to help you choose, install and verify the equipment without turning one convenient device into a single point of failure.
What matters in this comparison
Factor
Option or result
Why it matters
Primary effect
Raises air and nearby surfaces
More directed radiant heating
Visible light
None
None
Drying tendency
Often stronger
Usually more localized
Typical control
Pulse or dimming thermostat
Dimming thermostat
Specifications are useful for screening products, but enclosure performance depends on placement. Room temperature, ventilation, mesh, substrate moisture and animal access can move the result far from a brochure figure. Work from a measured baseline and change one variable at a time.
How to set it up
1. Measure the cold room
Night heat should solve an actual deficit. Test the result under normal enclosure conditions and write down what you observed. A setting that works on an empty bench can behave differently after decor, ventilation and daily room changes are added.
2. Choose wattage conservatively
More power is not a substitute for placement. Test the result under normal enclosure conditions and write down what you observed. A setting that works on an empty bench can behave differently after decor, ventilation and daily room changes are added.
3. Use a ceramic holder
Plastic lamp holders are not suitable. Test the result under normal enclosure conditions and write down what you observed. A setting that works on an empty bench can behave differently after decor, ventilation and daily room changes are added.
4. Fit a guard
Prevent animal and keeper contact. Test the result under normal enclosure conditions and write down what you observed. A setting that works on an empty bench can behave differently after decor, ventilation and daily room changes are added.
5. Run a full-day test
Check warm and cool zones before occupancy. Test the result under normal enclosure conditions and write down what you observed. A setting that works on an empty bench can behave differently after decor, ventilation and daily room changes are added.
What ownership looks like after the first week
The first week should be treated as commissioning, not proof that the system will remain stable. Check the morning minimum, daytime peak and the transition between them. Look for loose probes, wet connectors, drifting clocks, blocked vents and any behavior that suggests the animal cannot use the intended zone.
After the setup settles, use a short written routine. A glance at the device is not enough. Compare it with an independent instrument, inspect cables and mounts, and review stored history when available. Replace consumable parts based on condition and verified performance rather than memory.
Common mistakes
Adding night heat when the room already stays suitable
Using a CHE to create a tiny basking point
Mounting above flammable decor
Letting a probe dangle
Assuming no light means no burn risk
Who this approach suits
This approach suits keepers who want a system that another person can understand during a holiday or emergency. It also scales better across several enclosures because labels, baseline readings and failure tests remove guesswork. If a device requires constant manual correction, the installation needs work even when its feature list looks impressive.
How to verify the result in a real enclosure
Test heat control during the room’s coldest and warmest ordinary periods. A setup tuned on a mild afternoon may run at full output overnight, while one tuned during winter may overshoot in summer. Review the heater duty cycle, surface temperature and cool-side air together. Each value answers a different question.
Probe security deserves physical testing. Tug the cable gently, move nearby decor and perform the normal cleaning motion. If the probe can slip, be covered or pressed directly against the heater, the controller can receive a false reading. Add a second independent sensor where it will notice the resulting enclosure change rather than duplicate the same failure point.
A practical seven-day check
Day one: photograph positions, record room conditions and capture baseline readings.
Day two: review the full day-night transition and check that schedules occurred at the intended local time.
Day three: inspect mounts, probe restraints, plugs, tubing and any area exposed to moisture.
Day four: compare the main reading with an independent instrument placed beside it long enough to stabilize.
Day five: review animal access and behavior. Confirm that equipment does not block hides, climbing routes or the cool zone.
Day six: simulate one safe failure, such as a short internet loss or power interruption, then check recovery.
Day seven: save the final settings and observations in the enclosure record.
Repeat the short version of this audit after major cleaning, seasonal room changes or equipment replacement. The point is not constant tinkering. It is catching the few changes that can quietly alter a previously stable habitat.
No. Use a separate thermometer, hygrometer, light meter or logger appropriate to the job. Independent verification catches probe movement and controller errors.
How long should I test before animals or eggs depend on it?
At least one complete day-night cycle, and longer for equipment affected by room weather or water use. Incubation and emergency systems deserve several days plus a power-loss test.
Can an app replace local control?
An app is useful for history and alerts. Critical regulation should continue safely when the phone, router or cloud service is unavailable.
What should I record?
Record device model, installation date, set points, probe location, baseline readings and the result of outage or disconnection tests. Those notes make later troubleshooting much faster.
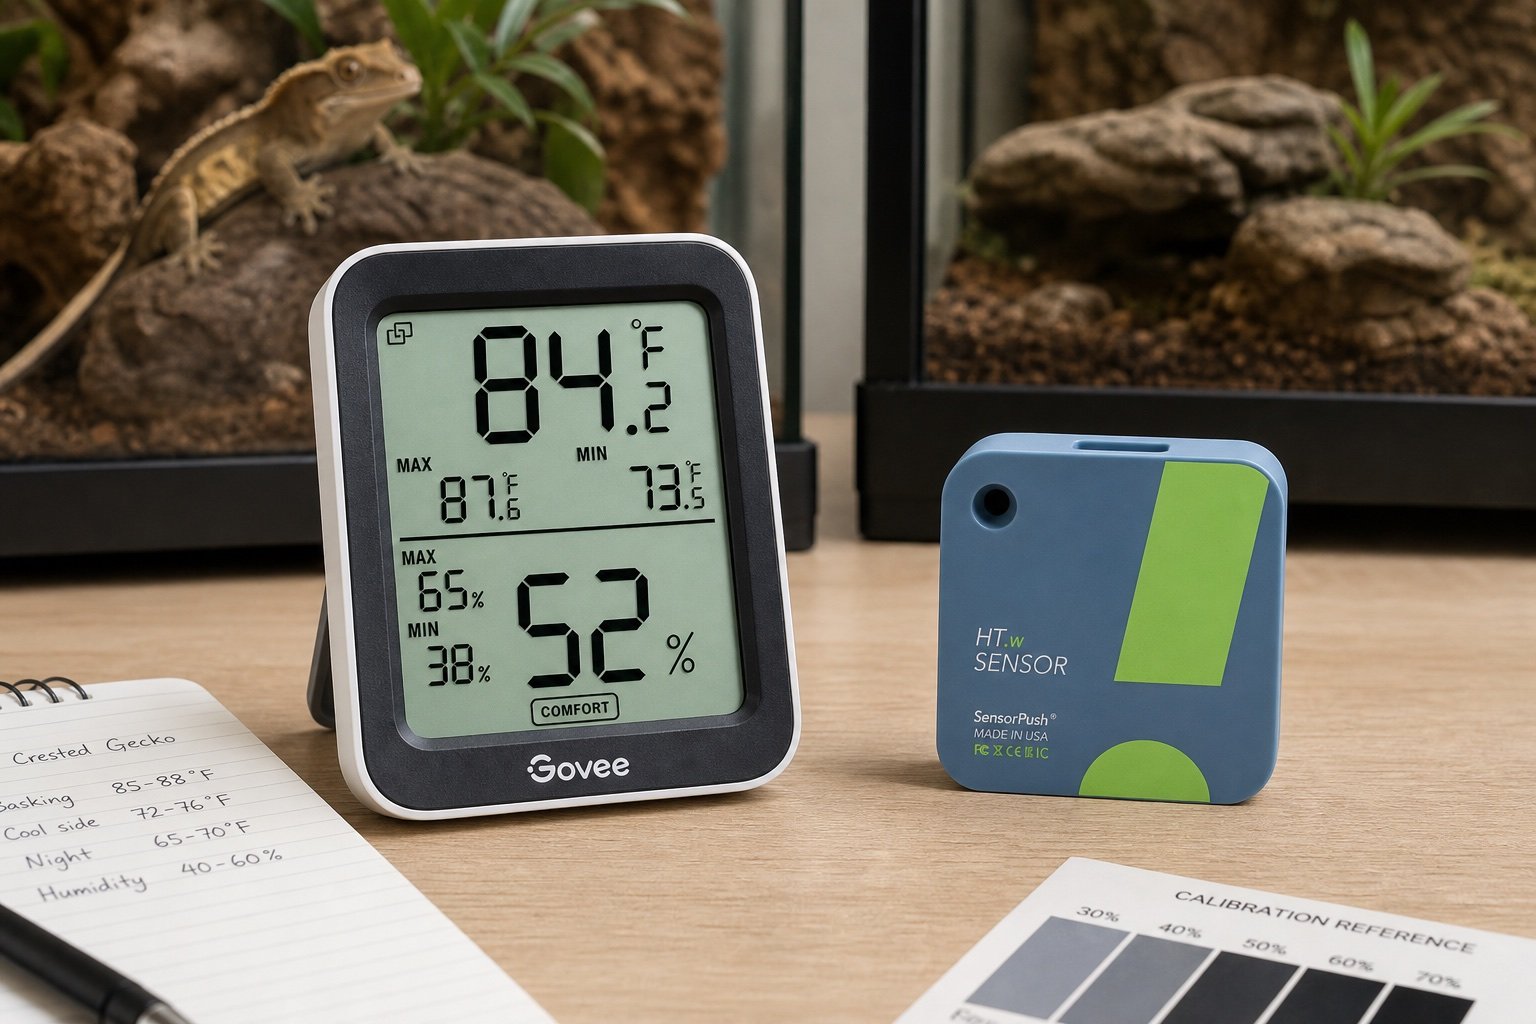
Quick verdict: Choose Govee when low entry cost and an on-device display are the priorities. Choose SensorPush HT.w when compact placement, longer stated battery life and a more measurement-focused workflow justify the higher system cost. Remote access adds a gateway or Wi-Fi model in either ecosystem.
Govee vs SensorPush for reptile enclosures: logs, alerts and real cost is a narrow buying and setup question, so this guide stays focused on that job. It does not repeat our broader category pages. The aim is to help you choose, install and verify the equipment without turning one convenient device into a single point of failure.
What matters in this comparison
Factor
Option or result
Why it matters
Entry cost
Usually lower
Usually higher
Local display
Common on Govee models
None on HT.w
Battery
Model dependent
CR2477, typical over two years
Remote access
Wi-Fi model or gateway
G1 gateway
Specifications are useful for screening products, but enclosure performance depends on placement. Room temperature, ventilation, mesh, substrate moisture and animal access can move the result far from a brochure figure. Work from a measured baseline and change one variable at a time.
How to set it up
1. List required zones
Basking, cool and humid zones may need separate sensors. Test the result under normal enclosure conditions and write down what you observed. A setting that works on an empty bench can behave differently after decor, ventilation and daily room changes are added.
2. Price the whole system
Include gateways and replacement batteries. Test the result under normal enclosure conditions and write down what you observed. A setting that works on an empty bench can behave differently after decor, ventilation and daily room changes are added.
3. Test export
Download data before committing to an ecosystem. Test the result under normal enclosure conditions and write down what you observed. A setting that works on an empty bench can behave differently after decor, ventilation and daily room changes are added.
4. Check alert delivery
Lock-screen permissions often fail silently. Test the result under normal enclosure conditions and write down what you observed. A setting that works on an empty bench can behave differently after decor, ventilation and daily room changes are added.
5. Run side by side
Compare sensors for a full week. Test the result under normal enclosure conditions and write down what you observed. A setting that works on an empty bench can behave differently after decor, ventilation and daily room changes are added.
What ownership looks like after the first week
The first week should be treated as commissioning, not proof that the system will remain stable. Check the morning minimum, daytime peak and the transition between them. Look for loose probes, wet connectors, drifting clocks, blocked vents and any behavior that suggests the animal cannot use the intended zone.
After the setup settles, use a short written routine. A glance at the device is not enough. Compare it with an independent instrument, inspect cables and mounts, and review stored history when available. Replace consumable parts based on condition and verified performance rather than memory.
Common mistakes
Comparing one Govee model with the whole SensorPush range
Ignoring gateway cost
Putting unlike sensors in different microclimates
Choosing by app screenshots alone
Assuming a phone connection is an alarm system
Who this approach suits
This approach suits keepers who want a system that another person can understand during a holiday or emergency. It also scales better across several enclosures because labels, baseline readings and failure tests remove guesswork. If a device requires constant manual correction, the installation needs work even when its feature list looks impressive.
How to verify the result in a real enclosure
A logger earns its place by showing patterns that a spot check misses. Review at least a week that includes misting, heating transitions and a normal room-temperature swing. Look for repeatable timing, not isolated spikes. A brief peak immediately after spray may be expected; a rising overnight baseline can point to restricted ventilation or wet substrate.
Before trusting alerts, force a harmless test. Warm the sensor in your hand, move it briefly to a drier room and confirm the notification arrives when the phone is locked. Then document Bluetooth or gateway coverage at the actual enclosure. Thick cabinets, foil insulation and distant rooms can shorten the advertised ideal range substantially.
A practical seven-day check
Day one: photograph positions, record room conditions and capture baseline readings.
Day two: review the full day-night transition and check that schedules occurred at the intended local time.
Day three: inspect mounts, probe restraints, plugs, tubing and any area exposed to moisture.
Day four: compare the main reading with an independent instrument placed beside it long enough to stabilize.
Day five: review animal access and behavior. Confirm that equipment does not block hides, climbing routes or the cool zone.
Day six: simulate one safe failure, such as a short internet loss or power interruption, then check recovery.
Day seven: save the final settings and observations in the enclosure record.
Repeat the short version of this audit after major cleaning, seasonal room changes or equipment replacement. The point is not constant tinkering. It is catching the few changes that can quietly alter a previously stable habitat.
No. Use a separate thermometer, hygrometer, light meter or logger appropriate to the job. Independent verification catches probe movement and controller errors.
How long should I test before animals or eggs depend on it?
At least one complete day-night cycle, and longer for equipment affected by room weather or water use. Incubation and emergency systems deserve several days plus a power-loss test.
Can an app replace local control?
An app is useful for history and alerts. Critical regulation should continue safely when the phone, router or cloud service is unavailable.
What should I record?
Record device model, installation date, set points, probe location, baseline readings and the result of outage or disconnection tests. Those notes make later troubleshooting much faster.
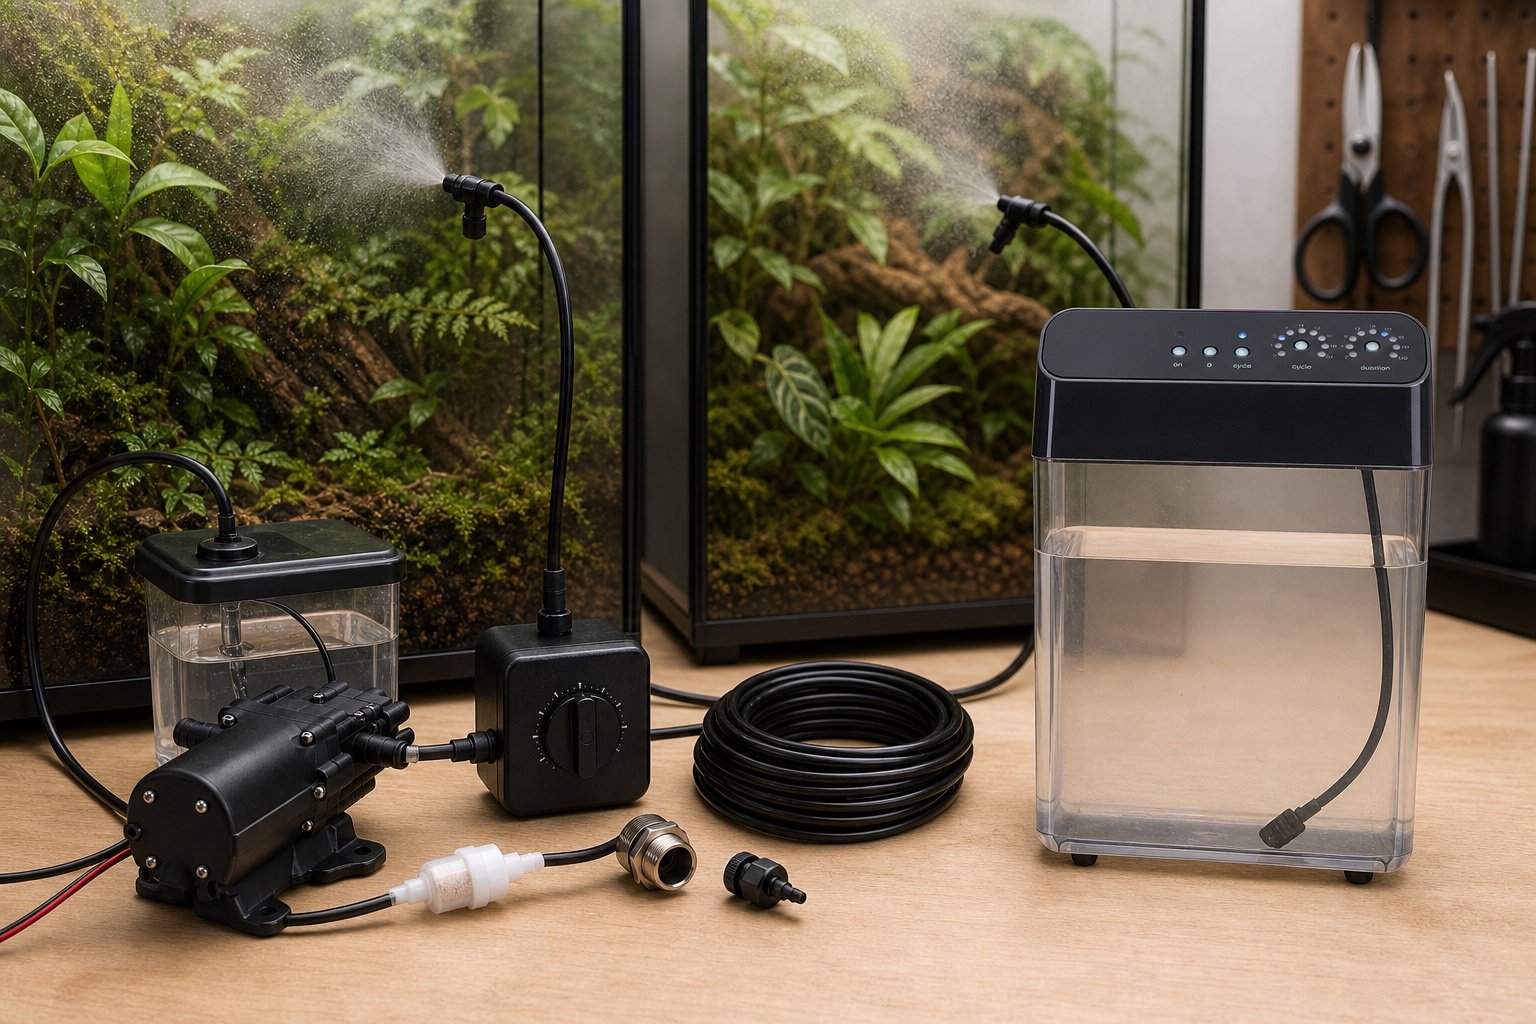
Quick verdict: MistKing is the better platform for expansion, custom reservoirs and multi-enclosure plumbing. Exo Terra Monsoon Multi II is simpler when an integrated 8 L tank and a small number of nozzles fit the job. The decision is scale and serviceability, not spray appearance.
MistKing vs Exo Terra Monsoon: which misting system scales better? is a narrow buying and setup question, so this guide stays focused on that job. It does not repeat our broader category pages. The aim is to help you choose, install and verify the equipment without turning one convenient device into a single point of failure.
What matters in this comparison
Factor
Option or result
Why it matters
Reservoir
User supplied on Starter kit
Integrated 8 L
Starter nozzles
One
Two
Expansion
Strong platform, pump supports more
Up to six nozzles
Timer
Separate ST-24 in common kit
Built into unit
Specifications are useful for screening products, but enclosure performance depends on placement. Room temperature, ventilation, mesh, substrate moisture and animal access can move the result far from a brochure figure. Work from a measured baseline and change one variable at a time.
How to set it up
1. Draw the plumbing plan
Count nozzles and line length before buying. Test the result under normal enclosure conditions and write down what you observed. A setting that works on an empty bench can behave differently after decor, ventilation and daily room changes are added.
2. Decide reservoir location
Access for cleaning matters. Test the result under normal enclosure conditions and write down what you observed. A setting that works on an empty bench can behave differently after decor, ventilation and daily room changes are added.
3. Build drainage
Every added nozzle adds water. Test the result under normal enclosure conditions and write down what you observed. A setting that works on an empty bench can behave differently after decor, ventilation and daily room changes are added.
4. Test equal output
Catch each nozzle for the same timed cycle. Test the result under normal enclosure conditions and write down what you observed. A setting that works on an empty bench can behave differently after decor, ventilation and daily room changes are added.
5. Keep spares
A plug, union and clean nozzle solve common failures. Test the result under normal enclosure conditions and write down what you observed. A setting that works on an empty bench can behave differently after decor, ventilation and daily room changes are added.
What ownership looks like after the first week
The first week should be treated as commissioning, not proof that the system will remain stable. Check the morning minimum, daytime peak and the transition between them. Look for loose probes, wet connectors, drifting clocks, blocked vents and any behavior that suggests the animal cannot use the intended zone.
After the setup settles, use a short written routine. A glance at the device is not enough. Compare it with an independent instrument, inspect cables and mounts, and review stored history when available. Replace consumable parts based on condition and verified performance rather than memory.
Common mistakes
Comparing kit prices without reservoir parts
Assuming more pressure fixes clogged nozzles
Skipping a drainage calculation
Mixing tubing sizes casually
Mounting the pump where vibration amplifies noise
Who this approach suits
This approach suits keepers who want a system that another person can understand during a holiday or emergency. It also scales better across several enclosures because labels, baseline readings and failure tests remove guesswork. If a device requires constant manual correction, the installation needs work even when its feature list looks impressive.
How to verify the result in a real enclosure
Water automation must be checked as a complete loop: clean reservoir, pump, tubing, nozzle, enclosure surfaces and drainage. Time one cycle into a measuring jug before installation. Multiply that volume by daily cycles and nozzle count, then compare it with drainage capacity. This simple calculation exposes undersized catch containers before they overflow.
Observe how fast leaves and walls dry after spraying. The useful wet period depends on species and ventilation, but standing water that never clears is a maintenance warning. Adjust nozzle direction and cycle length before increasing frequency. Shorter cycles are not automatically safer if they occur so often that the habitat never dries.
A practical seven-day check
Day one: photograph positions, record room conditions and capture baseline readings.
Day two: review the full day-night transition and check that schedules occurred at the intended local time.
Day three: inspect mounts, probe restraints, plugs, tubing and any area exposed to moisture.
Day four: compare the main reading with an independent instrument placed beside it long enough to stabilize.
Day five: review animal access and behavior. Confirm that equipment does not block hides, climbing routes or the cool zone.
Day six: simulate one safe failure, such as a short internet loss or power interruption, then check recovery.
Day seven: save the final settings and observations in the enclosure record.
Repeat the short version of this audit after major cleaning, seasonal room changes or equipment replacement. The point is not constant tinkering. It is catching the few changes that can quietly alter a previously stable habitat.
No. Use a separate thermometer, hygrometer, light meter or logger appropriate to the job. Independent verification catches probe movement and controller errors.
How long should I test before animals or eggs depend on it?
At least one complete day-night cycle, and longer for equipment affected by room weather or water use. Incubation and emergency systems deserve several days plus a power-loss test.
Can an app replace local control?
An app is useful for history and alerts. Critical regulation should continue safely when the phone, router or cloud service is unavailable.
What should I record?
Record device model, installation date, set points, probe location, baseline readings and the result of outage or disconnection tests. Those notes make later troubleshooting much faster.
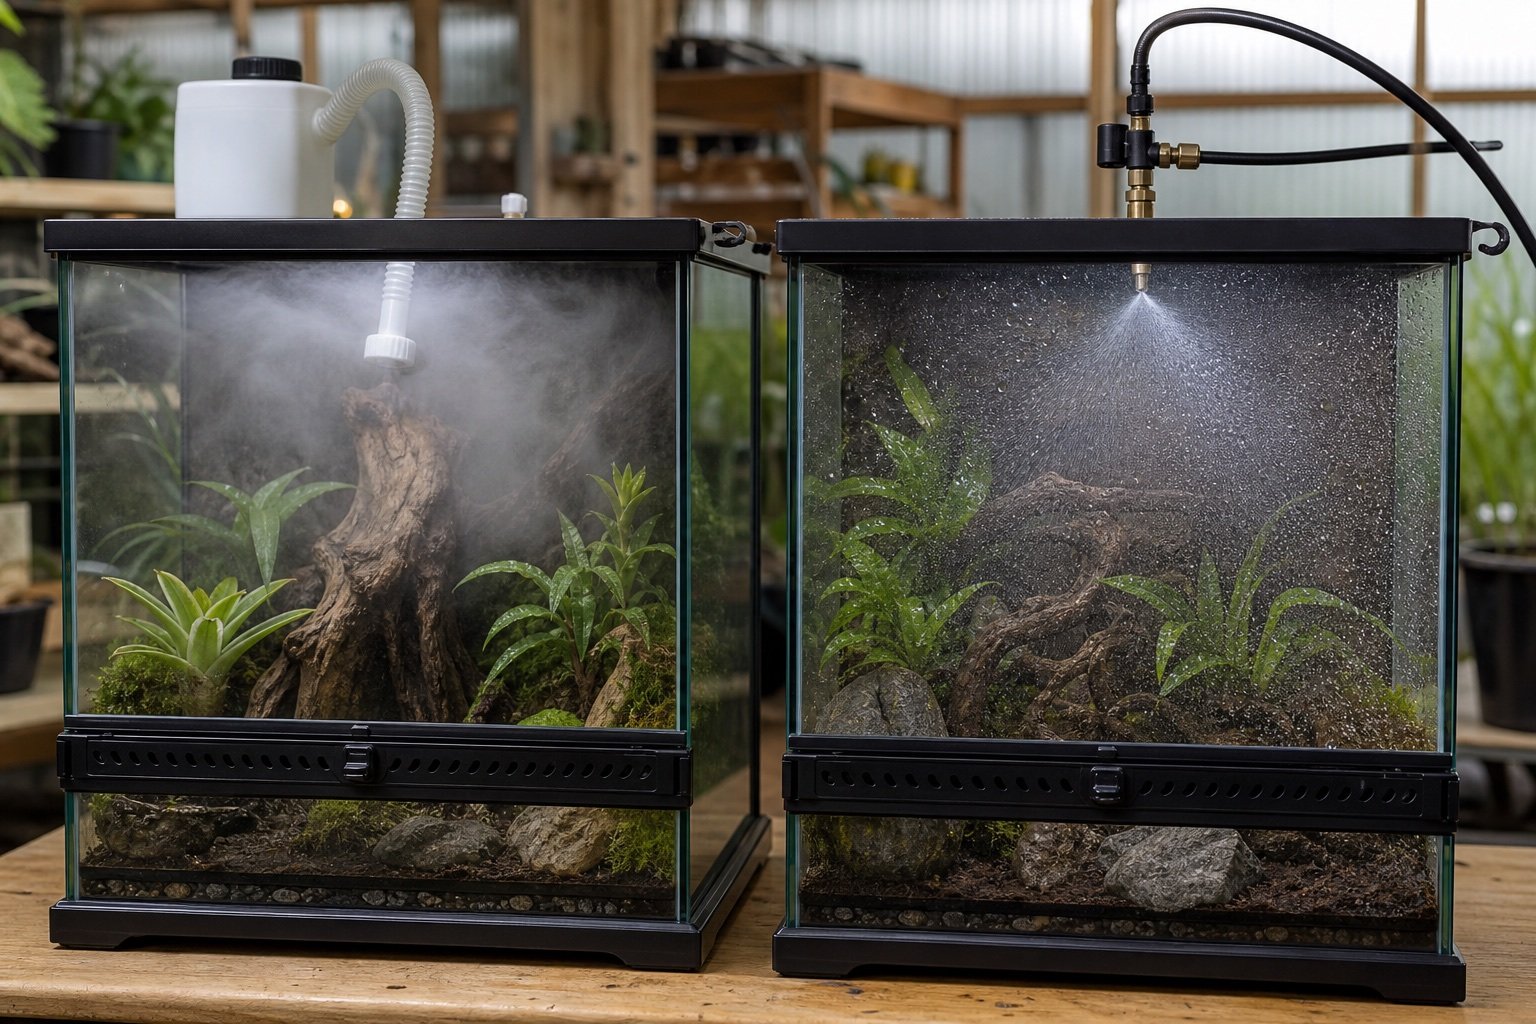
Quick verdict: A mister wets surfaces with larger droplets and can support drinking, plant watering and short humidity peaks. A fogger suspends very fine droplets and is better for controlled atmospheric humidity. Neither fixes poor ventilation, and both require cleaning.
Reptile fogger vs mister: humidity, droplets and the problems each solves is a narrow buying and setup question, so this guide stays focused on that job. It does not repeat our broader category pages. The aim is to help you choose, install and verify the equipment without turning one convenient device into a single point of failure.
What matters in this comparison
Factor
Option or result
Why it matters
Droplet effect
Wets leaves and decor
Hangs in air
Best job
Drinking and wet-dry cycles
Short atmospheric humidity periods
Water load
Higher on substrate
Can condense in cool areas
Sanitation
Nozzles and reservoir
Reservoir, hose and transducer
Specifications are useful for screening products, but enclosure performance depends on placement. Room temperature, ventilation, mesh, substrate moisture and animal access can move the result far from a brochure figure. Work from a measured baseline and change one variable at a time.
How to set it up
1. Measure the problem
Log humidity before adding equipment. Test the result under normal enclosure conditions and write down what you observed. A setting that works on an empty bench can behave differently after decor, ventilation and daily room changes are added.
2. Check species behavior
Some reptiles drink droplets, others do not. Test the result under normal enclosure conditions and write down what you observed. A setting that works on an empty bench can behave differently after decor, ventilation and daily room changes are added.
3. Protect airflow
Humidity without exchange becomes stagnant. Test the result under normal enclosure conditions and write down what you observed. A setting that works on an empty bench can behave differently after decor, ventilation and daily room changes are added.
4. Use clean water
Follow manufacturer guidance. Test the result under normal enclosure conditions and write down what you observed. A setting that works on an empty bench can behave differently after decor, ventilation and daily room changes are added.
5. Inspect after each cycle
Look for standing water and condensation. Test the result under normal enclosure conditions and write down what you observed. A setting that works on an empty bench can behave differently after decor, ventilation and daily room changes are added.
What ownership looks like after the first week
The first week should be treated as commissioning, not proof that the system will remain stable. Check the morning minimum, daytime peak and the transition between them. Look for loose probes, wet connectors, drifting clocks, blocked vents and any behavior that suggests the animal cannot use the intended zone.
After the setup settles, use a short written routine. A glance at the device is not enough. Compare it with an independent instrument, inspect cables and mounts, and review stored history when available. Replace consumable parts based on condition and verified performance rather than memory.
Common mistakes
Running fog continuously
Using a mister to compensate for saturated substrate
Blowing fog directly into an animal hide
Ignoring bacterial film in hoses
Automating before observing one manual cycle
Who this approach suits
This approach suits keepers who want a system that another person can understand during a holiday or emergency. It also scales better across several enclosures because labels, baseline readings and failure tests remove guesswork. If a device requires constant manual correction, the installation needs work even when its feature list looks impressive.
How to verify the result in a real enclosure
Water automation must be checked as a complete loop: clean reservoir, pump, tubing, nozzle, enclosure surfaces and drainage. Time one cycle into a measuring jug before installation. Multiply that volume by daily cycles and nozzle count, then compare it with drainage capacity. This simple calculation exposes undersized catch containers before they overflow.
Observe how fast leaves and walls dry after spraying. The useful wet period depends on species and ventilation, but standing water that never clears is a maintenance warning. Adjust nozzle direction and cycle length before increasing frequency. Shorter cycles are not automatically safer if they occur so often that the habitat never dries.
A practical seven-day check
Day one: photograph positions, record room conditions and capture baseline readings.
Day two: review the full day-night transition and check that schedules occurred at the intended local time.
Day three: inspect mounts, probe restraints, plugs, tubing and any area exposed to moisture.
Day four: compare the main reading with an independent instrument placed beside it long enough to stabilize.
Day five: review animal access and behavior. Confirm that equipment does not block hides, climbing routes or the cool zone.
Day six: simulate one safe failure, such as a short internet loss or power interruption, then check recovery.
Day seven: save the final settings and observations in the enclosure record.
Repeat the short version of this audit after major cleaning, seasonal room changes or equipment replacement. The point is not constant tinkering. It is catching the few changes that can quietly alter a previously stable habitat.
No. Use a separate thermometer, hygrometer, light meter or logger appropriate to the job. Independent verification catches probe movement and controller errors.
How long should I test before animals or eggs depend on it?
At least one complete day-night cycle, and longer for equipment affected by room weather or water use. Incubation and emergency systems deserve several days plus a power-loss test.
Can an app replace local control?
An app is useful for history and alerts. Critical regulation should continue safely when the phone, router or cloud service is unavailable.
What should I record?
Record device model, installation date, set points, probe location, baseline readings and the result of outage or disconnection tests. Those notes make later troubleshooting much faster.
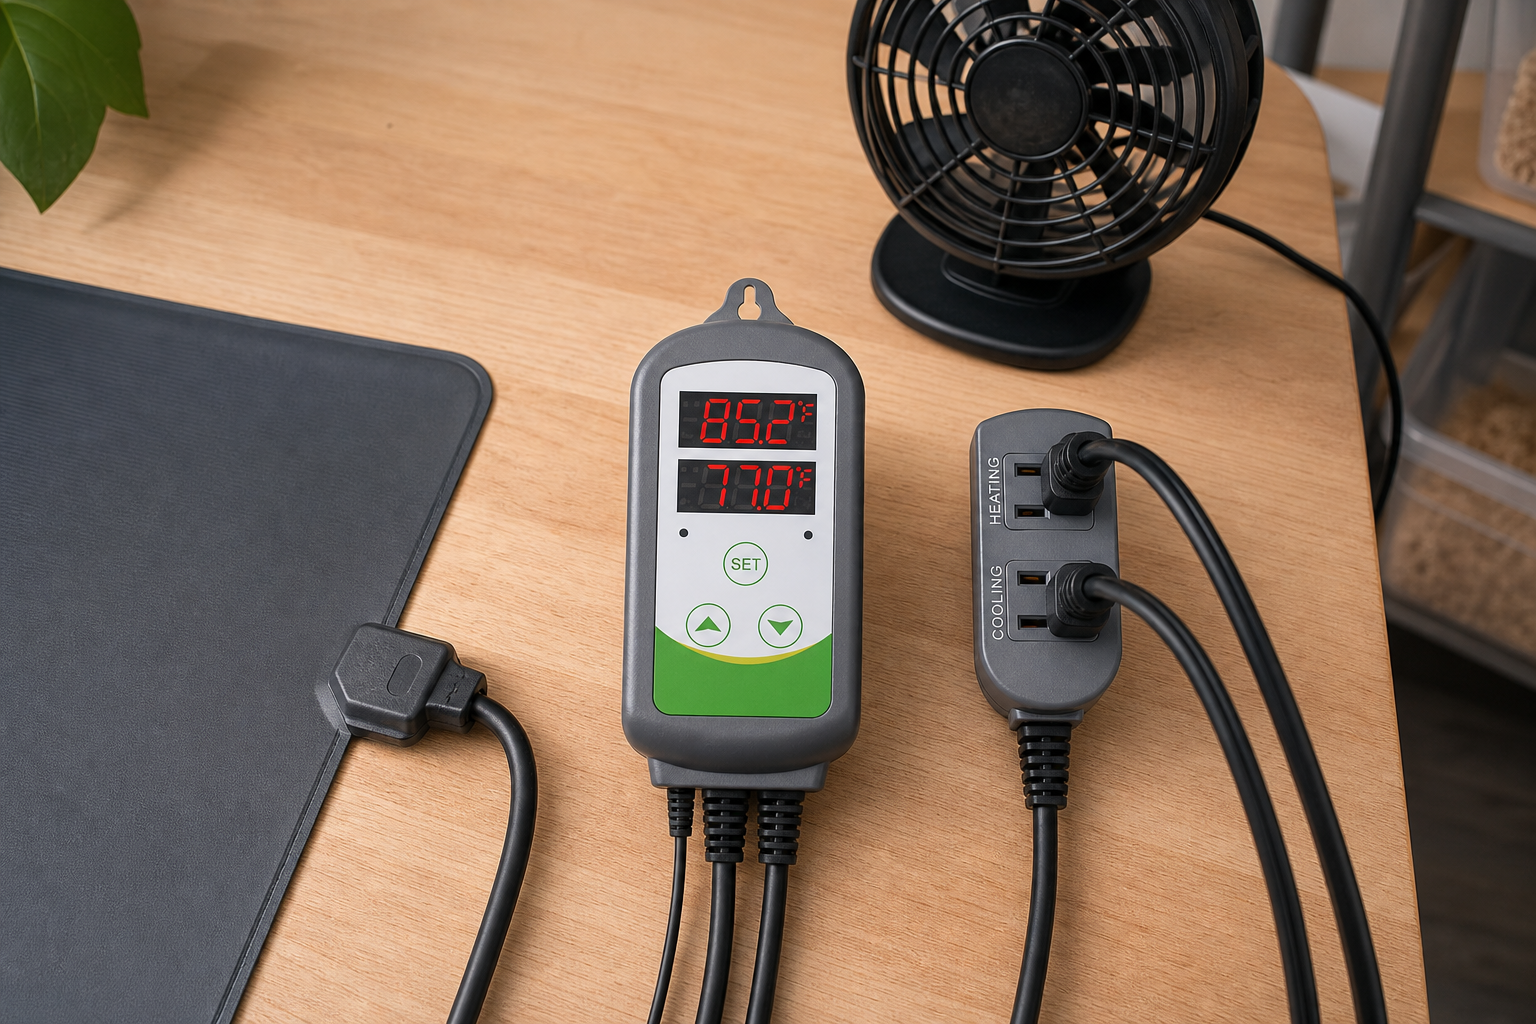
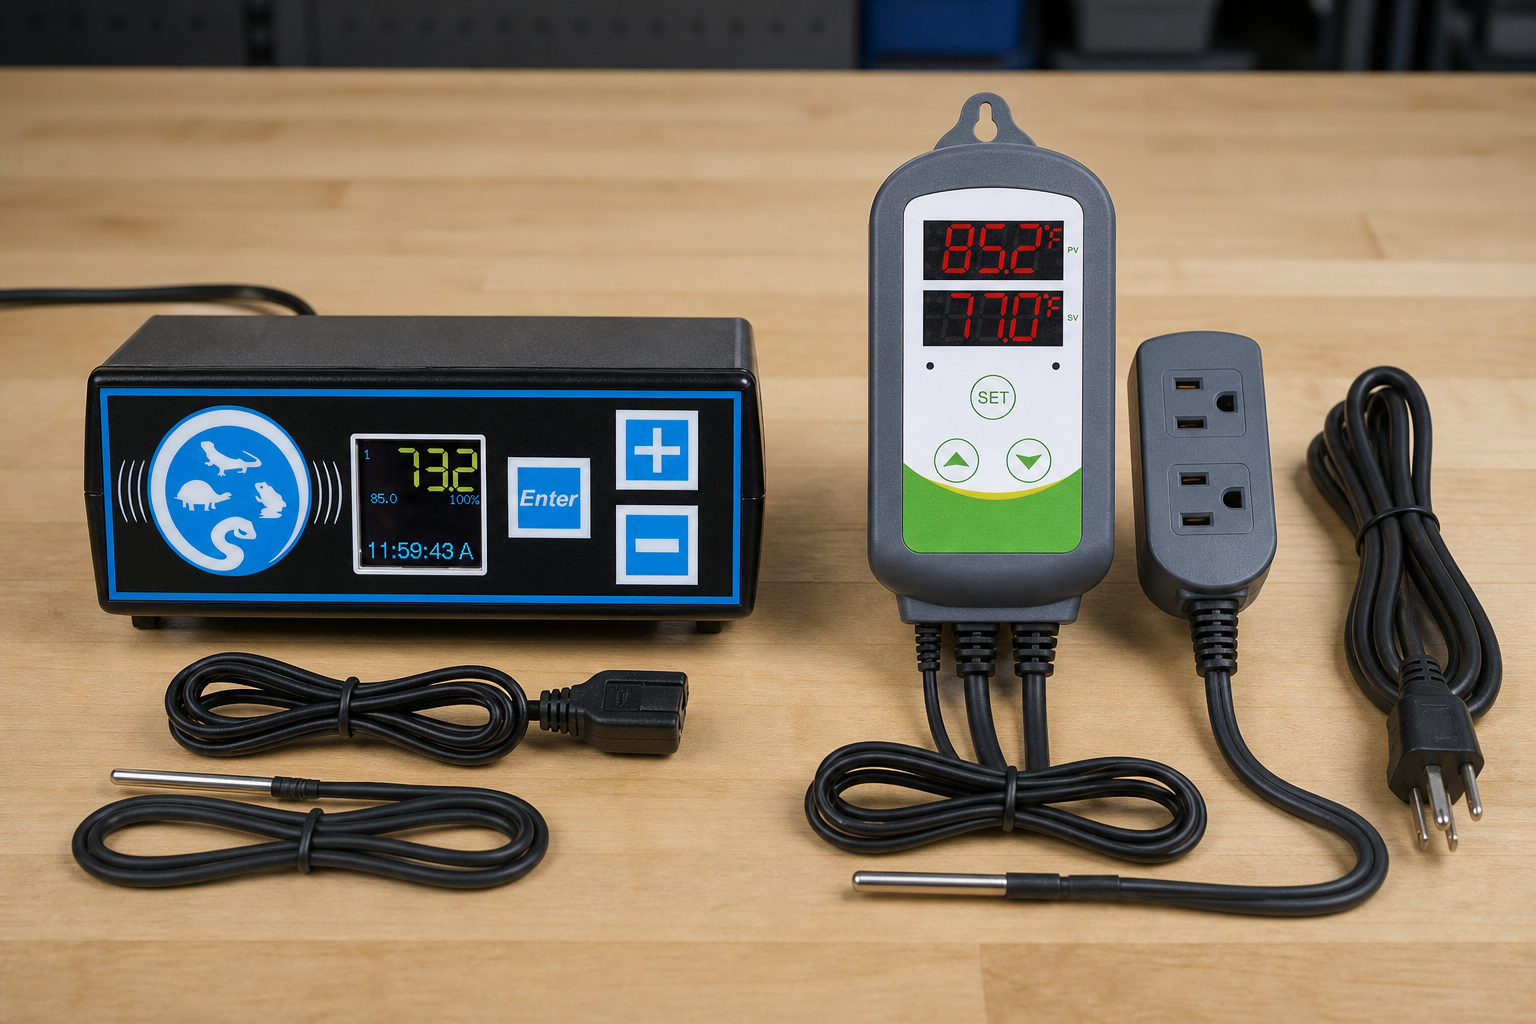
Verdict: Herpstat 1 and Inkbird ITC-308 are not cheaper and dearer versions of the same thermostat. Herpstat is a reptile-focused proportional controller with one output, scheduling, replaceable sensing hardware, detailed alarms and an independent safety relay. The ITC-308 is a general-purpose two-stage on/off controller with separate heating and cooling sockets. Choose by heat source and failure behavior, not by the number on the price tag.
Side-by-side comparison
Question
Herpstat 1 SpyderWeb
Inkbird ITC-308
Control style
Proportional heating plus configurable modes
On/off heating and cooling with adjustable differentials
Outputs
One controlled output
Separate heat and cool receptacles driven by one probe
Schedules
Up to four daily temperature periods
No reptile-specific day/night program on the standard model
Probe
Removable steel-tipped sensor
Attached NTC sensor on standard ITC-308; detachable on some related models
Published load
700 watts total
10A total; watt figure varies with regional voltage and listing
Remote option
Local and remote web status, graphing and email features
Standard and Wi-Fi variants are sold
Safety emphasis
Audible alarms, sensor shutdown and internal safety relay
High/low and sensor alarms, calibration and compressor delay
Herpstat wins when the heater needs proportional control
Herpstat reduces power as the probe approaches the target. This can hold a compatible heater close to setpoint without the broad cycles produced by an on/off controller. Soft startup and Auto Power Matching help the controller learn the thermal response, though they cannot compensate for a badly placed probe.
A light-emitting basking lamp normally needs smooth dimming rather than visible pulsing or repeated hard switching. Confirm the chosen Herpstat mode and lamp compatibility in the manual. The broader guide to reptile thermostats maps dimming, pulse and on/off control to common heat sources.
Inkbird wins when simple two-stage switching fits
The ITC-308 can turn a heater on below one threshold and a cooling device on above another. That is useful for a conditioned reptile room, incubator cabinet or equipment bay where a heater and fan need coordinated on/off control. Compressor delay also makes sense when the cooling device contains a compressor.
For one heat mat in a stable room, the Inkbird’s simple setup may be enough. For a visible lamp, its relay switching is usually the wrong behavior. Do not choose it merely because the total load rating is high.
Temperature stability depends on the enclosure
An on/off controller does not automatically create dangerous swings. A low-power mat under a heavy enclosure may change slowly. A powerful radiant heater in a light enclosure can overshoot after the relay opens because stored heat continues moving toward the probe.
Herpstat’s finer output control can reduce that cycle, but only at the measured point. Run either controller with the complete enclosure empty. Log warm surface, warm-side air and cool-side air through a full day. The temperature monitoring tools guide explains why a thermostat display, infrared reading and air logger answer different questions.
Probe design and replacement
Herpstat includes a removable probe, which makes damage easier to repair. The standard ITC-308 uses an attached probe; Inkbird’s ITC-308S is a related model with a plug-in probe. Read the model label before ordering a replacement.
Inkbird describes the ITC-308 probe as IP68, but the controller body and sockets are not waterproof. Herpstat also belongs outside the enclosure. Keep every mains connection above the floor, away from spray, and protected by a drip loop.
Alarms and failure response
Both products publish high and low alarm functions. Herpstat adds a separate internal safety relay, power-outage tracking and a defined sensor-failure heat shutdown. Its audible alarm works locally, while SpyderWeb email adds another path.
Inkbird provides a buzzer for temperature limits and sensor faults. The Wi-Fi variant can add remote visibility, but an app alert is not an independent cutoff. Test each alarm locally and verify what the output does when the sensor is disconnected using the manual’s safe procedure.
Schedules and day/night temperatures
Herpstat supports four periods per day, enough for morning, daytime, evening and night targets. Start with two. More transitions create more ways to enter the wrong time or temperature.
The standard ITC-308 is built around heating and cooling differentials rather than reptile lighting cycles. A separate timer may control lighting, but it should not bypass thermostat protection. If a night drop is required, use a controller designed to schedule it or a documented system that keeps the heat source under safe control.
Remote monitoring
Herpstat SpyderWeb provides browser status, graphs, scheduled emails and emergency email options. These are useful for checking warmup time and identifying outages. They depend on the router, internet and mail delivery.
Inkbird sells a Wi-Fi ITC-308 with app control. That model has different published ranges in some markets, so do not copy specifications from the non-Wi-Fi page. With either product, local control must remain safe when the network disappears.
Cost comparison
The ITC-308 costs far less. That is real value when on/off control is appropriate. Herpstat’s extra cost buys a different control method, reptile-oriented scheduling, replaceable sensing, more safety hardware and deeper history. Paying for those features only makes sense if the setup uses them.
Price the complete system: controller, independent logger, correct lamp holder, guards, spare probe and remote gateway if needed. The cheapest controller can become expensive when it forces another purchase to provide an alarm or day/night schedule.
Which one should you buy?
Choose Herpstat for a single important enclosure, a compatible radiant heater, day/night scheduling and stronger local safety layers.
Choose Inkbird for simple heat-mat control, a cabinet heater, or coordinated heating and cooling where relay switching is acceptable.
Choose neither if you need two independent heat zones. Buy a controller with separate channels and probes.
Choose a dedicated dimming thermostat if the selected Herpstat model or mode does not support the visible lamp exactly as required.
Setup test for either controller
Confirm voltage, current, wattage and heater compatibility.
Secure the probe at the real control point.
Place independent sensors beside it and at the cool end.
Run the finished enclosure empty for at least one day/night cycle.
Test alarm thresholds, probe failure and power recovery according to the manual.
Record the final settings and photograph the cable routing.
A comparison is incomplete until the probe is deliberately disconnected during a supervised test. The controller should move to its documented safety state, sound or display an alarm, and avoid driving the heater continuously. Repeat the exercise with the probe placed briefly against a cooler surface. This shows how a loose probe can create a more dangerous false reading than a clean disconnection.
Test power recovery too. Unplug the controller, wait, reconnect it and verify the set point, schedule and alarm limits. A remote monitor should be separate from the control probe so it can report a disagreement. Our overview of reptile temperature monitoring tools explains that independent layer.
Running cost and heater wear
Purchase price is only one part of the decision. On/off control repeatedly switches a heater at the edges of a differential. For a low-inertia device, this can produce frequent cycles and a visible temperature sawtooth. Proportional control supplies only the output needed near the target, which can feel calmer in a basking setup and avoids full-power bursts.
That does not mean proportional control is automatically cheaper to operate. The enclosure’s heat loss determines most energy use. The practical benefits are control behavior, lamp output and temperature stability. Record the room temperature with enclosure readings when comparing controllers, because a cold room can make either unit appear less capable.
Using either unit in a multi-enclosure room
Label the plug, probe and enclosure as one set. Similar black leads are easy to cross during cleaning. Mount the display where it can be read without opening the enclosure and keep the controlled receptacle inaccessible to animals and water. If several controllers share a circuit, total the maximum load and leave margin for startup and other room equipment.
For multiple habitats, consistency is more valuable than clever settings. Use a written commissioning checklist and record set point, probe position, heater type and alarm test. This complements the workflows in our guide to managing a large reptile collection.
Frequently asked questions
Is Inkbird safe for reptile heat lamps?
The standard ITC-308 uses on/off relay control. That can cause visible cycling and is usually not the preferred method for a basking lamp. Use a compatible dimming controller.
Can Herpstat heat and cool at the same time?
Herpstat 1 has one controlled output, so it cannot independently run one heater and one cooler. The ITC-308 has separate heat and cool receptacles controlled from one probe.
Which controller is more accurate?
Published sensor accuracy does not tell the whole story. Control method, probe position, differential and enclosure inertia determine the temperature the animal experiences.
Do remote alerts replace a room alarm?
No. Network and cloud alerts can fail. Keep local alarms and independent monitoring in the safety plan.
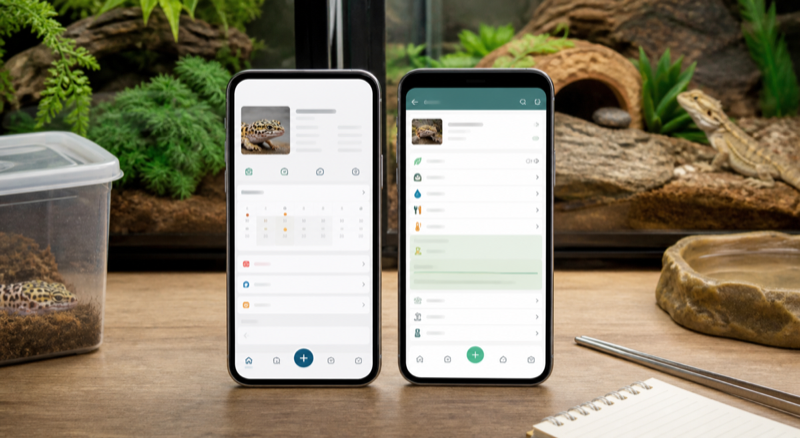
Choose Husbandry.Pro when you need a system that can grow into breeding plans, sales tools, custom animal structures and multi-user work. Choose Reptile Rocket when you want a smaller mobile tracker with structured care history, backups and XLSX animal-list export. The gap becomes more obvious as the collection grows.
Side-by-side workflow
Question
Husbandry.Pro
Reptile Rocket
Best fit
Growing collections and breeders
Small personal collections
Free entry point
Next Personal plan, up to five animals
One animal
Desktop workflow
Yes, with Classic and Next web platforms
Primarily mobile
Breeder depth
Plans include breeding, sales and team features
Breeding projects, with a lighter scope
Export
Confirm the exact export available on your plan
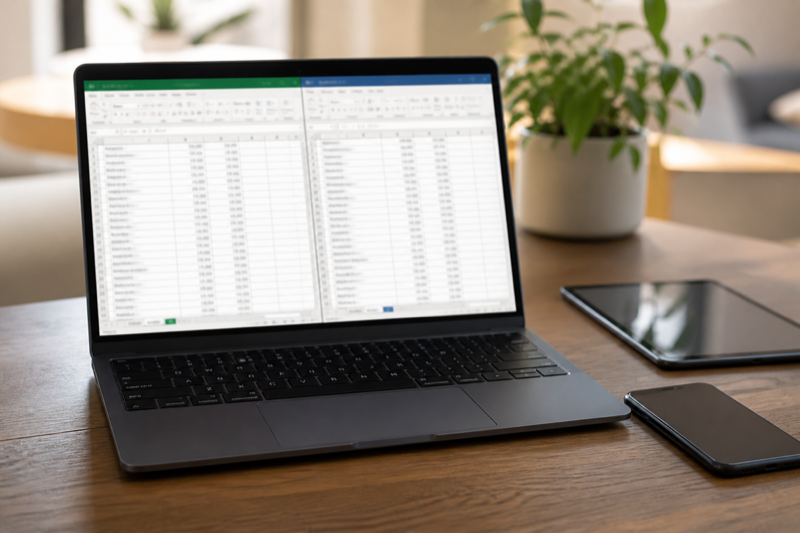
Current Android listing mentions XLSX animal-list export
Which friction bothers you more?
Husbandry.Pro asks for more setup. That work pays off when IDs, genetics, pairings and permissions matter. Reptile Rocket has less administrative weight, but a larger operation may eventually miss rack labels, batch tools or staff roles. Neither tradeoff is automatically bad.
Migration test
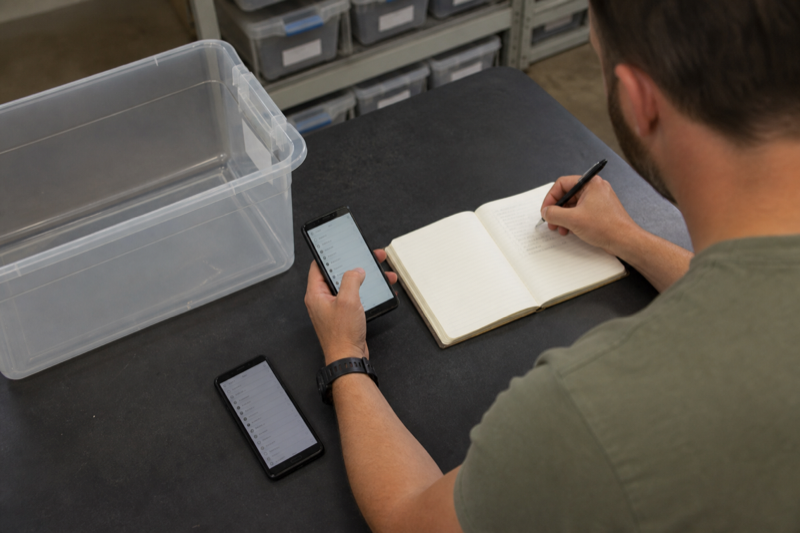
Build the same five-animal sample in both services. Include a refusal, several weights, a breeding record and a long note. Time ordinary entry, then try to find and correct the same event. Finally, export and check what survives. Do not move the full history until one option passes that test.
FAQ
Which is cheaper?
It depends on animal count, platform and billing period. Compare the tier you will need next year, not only the introductory allowance.
Which is better for one pet?
Reptile Rocket is the simpler starting point. Husbandry.Pro may still win if you expect the collection to grow quickly.
Choose with a three-year view
A one-pet account can become a breeding collection surprisingly quickly. Estimate the number of animals, users and active projects you expect in three years. Husbandry.Pro has a clearer path into high collection limits and operational tools. Reptile Rocket keeps the commitment and learning curve lower if growth is unlikely.
Reliability checks
Use each service on the devices that will actually be beside the enclosures. Turn the network off, restart the phone and correct an old event. Review backup behavior and support contacts. A polished feature table cannot reveal whether a notification arrives late or an export omits notes.
Final choice
Husbandry.Pro wins for structured growth, breeding work and multiple people. Reptile Rocket wins for a smaller personal collection that values simpler mobile records. If neither export gives you confidence, keep the existing system and revisit the comparison after the products change.
Read the individual tests: The full Husbandry.Pro review examines Classic and Next, while the Reptile Rocket review covers its strongest collection workflows and practical limits.
Verdict: Reptile Rocket vs Reptile Scan is a workflow choice. A profile-first app may suit browsing and planning, while a scan-first system can be faster at the enclosure. Both approaches need an error test.
Reptile Rocket vs Reptile Scan in daily use
Browsing versus direct access
Profile browsing helps when you do not know which animal needs attention. A label can provide quicker direct access when you are already standing at an enclosure. The stronger option depends on the task.
Offline recovery and export
Profiles versus scans
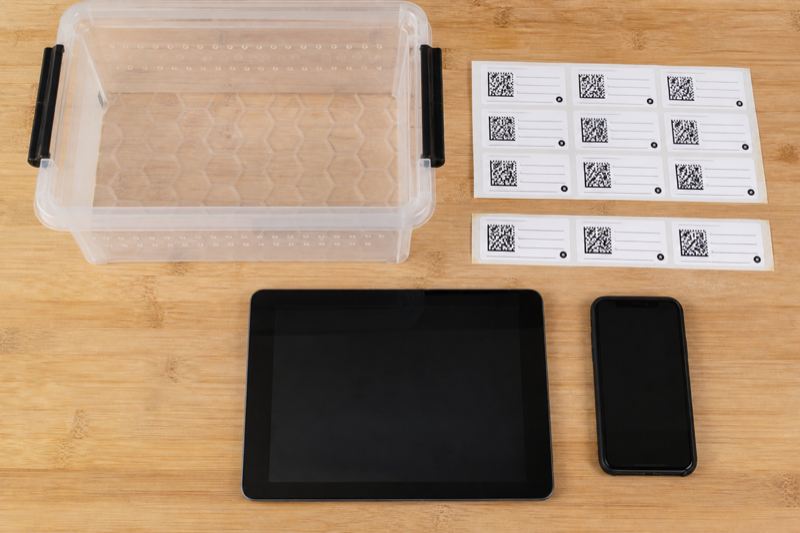
Reptile Rocket starts from the animal profile and its history. Reptile Scan is built around a web-managed collection with mobile QR access at cages and racks. If you usually decide what needs care from a list, profile browsing feels natural. If you walk the room and work enclosure by enclosure, scanning can remove repeated searching.
Where each app has the edge
Need
Better starting point
One or a few pets
Reptile Rocket
Rack and cage labels
Reptile Scan
Batch registrations
Reptile Scan Professional
XLSX animal-list export
Reptile Rocket listing
Team sharing and breeder tools
Reptile Scan Professional
The error test matters
Print two similar labels and place them beside one another. Scan each, confirm the displayed identity and add a sample event. Then deliberately select the wrong animal and see whether the app makes the mistake obvious before saving. Speed without confirmation can spread errors through an entire rack.
Reptile Rocket needs a different test. Create animals with similar names, switch between profiles and add several events. Search, photos, IDs and location fields should make the selected animal unmistakable.
Cost and scale
Reptile Rocket allows one animal without a subscription. Reptile Scan’s free plan has a higher animal allowance but also caps monthly registrations. Standard and Professional expand scale and features. Count both animals and events before comparing prices.
FAQ
Are QR labels safe to expose publicly?
That depends on what the code reveals. Scan a finished label with a phone that is not signed in and check the public result.
Can either replace a backup?
No. Export records on a schedule and store a dated copy outside the service.
Decision guide
Pick Reptile Rocket if you recognize animals by browsing a short list and normally record one event at a time. Pick Reptile Scan if physical location drives the work and scanning a tub or rack would remove repeated searching. The more similar animals you keep, the more important visible IDs and photos become in either app.
Ownership and handoff
Reptile Scan publishes several transfer and PDF options through its web console. Reptile Rocket publishes XLSX animal-list export on its Android listing. Neither label alone proves a complete migration path. Check event history, photos, notes and units, then store the result outside the account.
Final choice
Reptile Scan is the stronger operational system for QR-heavy rooms and breeders. Reptile Rocket is the calmer choice for a few pets. Run the error test before paying for either one. The better app is the one that makes the selected animal unmistakable before a record is saved.
Go deeper on each option: Read the complete Reptile Rocket review for profile-based management, then see the Reptile Scan review for QR speed and label testing.