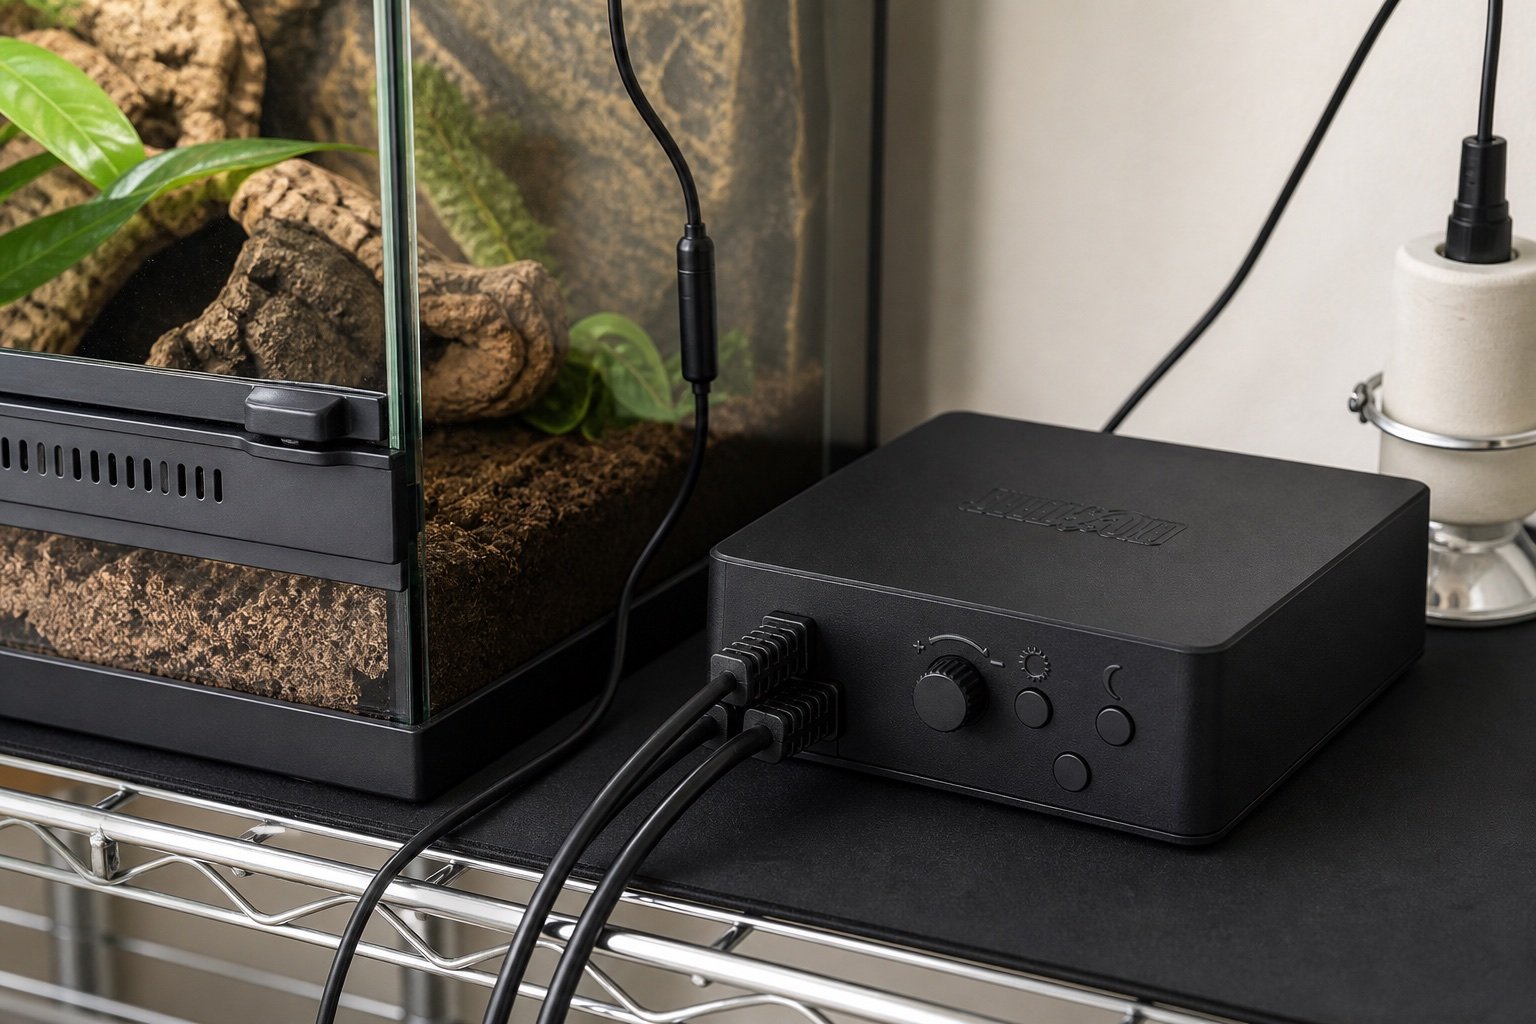
Quick verdict: The Exo Terra Thermostat 600W is a capable single-zone controller for keepers who want dimming and pulse modes plus separate day and night targets. The main caveat is regional hardware: receptacles and package details differ, so check the exact model before purchase.
Exo Terra Thermostat 600W review: dimming, pulse and day-night control is a narrow buying and setup question, so this guide stays focused on that job. It does not repeat our broader category pages. The aim is to help you choose, install and verify the equipment without turning one convenient device into a single point of failure.
What matters in this comparison
| Factor | Option or result | Why it matters |
|---|---|---|
| Maximum stated load | 600 W | Confirm regional manual |
| Control modes | Dimming and pulse proportional | Match to heat source |
| Set range | 10 to 60 C | Species target still comes from husbandry plan |
| Probe | Waterproof remote probe | Secure against movement |
Specifications are useful for screening products, but enclosure performance depends on placement. Room temperature, ventilation, mesh, substrate moisture and animal access can move the result far from a brochure figure. Work from a measured baseline and change one variable at a time.
How to set it up
1. Match the mode
Use the heat-source maker recommendation. Test the result under normal enclosure conditions and write down what you observed. A setting that works on an empty bench can behave differently after decor, ventilation and daily room changes are added.
2. Place the light sensor
Avoid shadows that cause false day-night switching. Test the result under normal enclosure conditions and write down what you observed. A setting that works on an empty bench can behave differently after decor, ventilation and daily room changes are added.
3. Fix the temperature probe
Do not let the animal move it. Test the result under normal enclosure conditions and write down what you observed. A setting that works on an empty bench can behave differently after decor, ventilation and daily room changes are added.
4. Test the safety response
Warm the probe gently and confirm output falls. Test the result under normal enclosure conditions and write down what you observed. A setting that works on an empty bench can behave differently after decor, ventilation and daily room changes are added.
5. Simulate power loss
Verify stored settings and recovery. Test the result under normal enclosure conditions and write down what you observed. A setting that works on an empty bench can behave differently after decor, ventilation and daily room changes are added.
What ownership looks like after the first week
The first week should be treated as commissioning, not proof that the system will remain stable. Check the morning minimum, daytime peak and the transition between them. Look for loose probes, wet connectors, drifting clocks, blocked vents and any behavior that suggests the animal cannot use the intended zone.
After the setup settles, use a short written routine. A glance at the device is not enough. Compare it with an independent instrument, inspect cables and mounts, and review stored history when available. Replace consumable parts based on condition and verified performance rather than memory.
Common mistakes
- Buying the wrong regional version
- Putting the probe directly under an intense lamp without a control plan
- Using the day-night sensor where room lights confuse it
- Loading several heaters near the maximum
- Treating the display as independent verification
Who this approach suits
This approach suits keepers who want a system that another person can understand during a holiday or emergency. It also scales better across several enclosures because labels, baseline readings and failure tests remove guesswork. If a device requires constant manual correction, the installation needs work even when its feature list looks impressive.
How to verify the result in a real enclosure
Test heat control during the room’s coldest and warmest ordinary periods. A setup tuned on a mild afternoon may run at full output overnight, while one tuned during winter may overshoot in summer. Review the heater duty cycle, surface temperature and cool-side air together. Each value answers a different question.
Probe security deserves physical testing. Tug the cable gently, move nearby decor and perform the normal cleaning motion. If the probe can slip, be covered or pressed directly against the heater, the controller can receive a false reading. Add a second independent sensor where it will notice the resulting enclosure change rather than duplicate the same failure point.
A practical seven-day check
- Day one: photograph positions, record room conditions and capture baseline readings.
- Day two: review the full day-night transition and check that schedules occurred at the intended local time.
- Day three: inspect mounts, probe restraints, plugs, tubing and any area exposed to moisture.
- Day four: compare the main reading with an independent instrument placed beside it long enough to stabilize.
- Day five: review animal access and behavior. Confirm that equipment does not block hides, climbing routes or the cool zone.
- Day six: simulate one safe failure, such as a short internet loss or power interruption, then check recovery.
- Day seven: save the final settings and observations in the enclosure record.
Repeat the short version of this audit after major cleaning, seasonal room changes or equipment replacement. The point is not constant tinkering. It is catching the few changes that can quietly alter a previously stable habitat.
Related Reptile Tech Lab guides
- best reptile thermostats
- Herpstat 1 review
- temperature monitoring guide
- deep heat projector vs halogen comparison
Frequently asked questions
Should I rely on the built-in display?
No. Use a separate thermometer, hygrometer, light meter or logger appropriate to the job. Independent verification catches probe movement and controller errors.
How long should I test before animals or eggs depend on it?
At least one complete day-night cycle, and longer for equipment affected by room weather or water use. Incubation and emergency systems deserve several days plus a power-loss test.
Can an app replace local control?
An app is useful for history and alerts. Critical regulation should continue safely when the phone, router or cloud service is unavailable.
What should I record?
Record device model, installation date, set points, probe location, baseline readings and the result of outage or disconnection tests. Those notes make later troubleshooting much faster.